The 11 PM Blue Brick Standoff
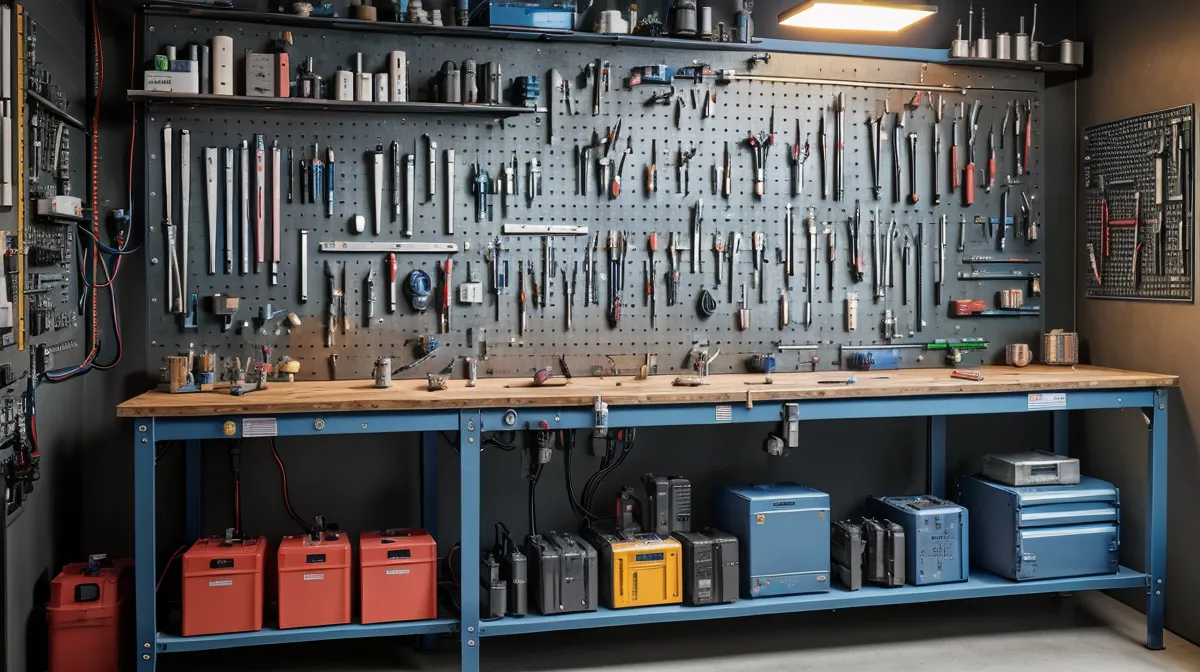
I was standing in my Phoenix garage late one Tuesday evening last January, staring at eight blue rectangular bricks that cost as much as my mortgage payment. Each one was a Lithium Iron Phosphate (LiFePO4) cell, and together, they represented my latest attempt to stop the bleeding from my $380 summer electric bills. My wife had already gone to bed, but her last look suggested she was fifty-fifty on whether I’d accidentally blow up the water heater before sunrise. I picked one up, and the heavy, cold weight of a 280Ah cell in my hands surprised me; it felt more like a dense, prehistoric lead weight than a piece of high-tech energy storage.
After eighteen months of messing with small kits and what my wife calls "science experiments," I realized that if I wanted to actually run a fridge or an AC unit overnight, I needed real capacity. In IT terms, my previous setups were like trying to run a corporate database on a thumb drive. I needed a server rack. This build was designed to be a 24V system, which meant 8 cells connected in series. At 3.2V nominal per cell, that gives me a 25.6V nominal bank with roughly 7,000 Wh of total capacity. For those keeping score at home, that’s enough juice to keep my garage fridge and my networking gear running for two days without a lick of sun.
Before we go any further, a necessary reality check: I am an IT support guy, not a licensed electrician or an engineer. I have zero formal training in high-voltage DC systems. While I’m sharing my personal experience here, you should absolutely consult a professional electrician before you start wiring up high-capacity batteries in your own home. If you mess up a network switch, you lose data; if you mess up a battery bank, you lose your garage.
The Long Wait: Top-Balancing and Network Latency
The first thing nobody tells you about building a battery bank is that it involves a lot of sitting around. Between mid-January and early February, my garage looked like a slow-motion data transfer. To get these cells to work together, you have to "top-balance" them. If one cell is at 90% charge and another is at 40%, your Battery Management System (BMS) will shut the whole thing down as soon as the high cell hits its limit. It’s exactly like having a mismatched network topology where the slowest node dictates the speed of the entire system.
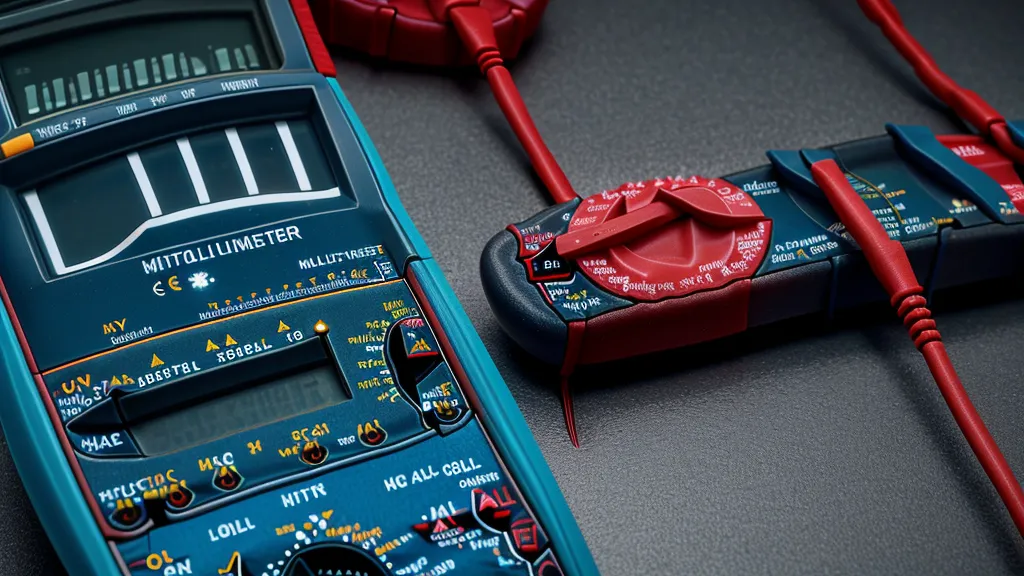
I used a cheap bench power supply to push each cell individually to 3.65V. It took weeks. I spent most of those evenings watching my multimeter like it was a high-stakes poker game, waiting for the voltage to creep up the last hundredth of a volt. At this stage, the project felt less like engineering and more like watching paint dry, but skipping this step is how you end up with a thousand-dollar paperweight. Total cell cost was around eight hundred and eighty dollars for Grade-A units, and I wasn't about to fry them because I was impatient. If you’re curious about how to feed this monster once it’s built, I spent some time choosing a solar charge controller for small DIY battery banks that could handle the specific charging curves of these LiFePO4 cells.
The Spark That Reset My Confidence
By late February, I was ready for final assembly. This is where my lack of formal training usually catches up with me. I was tightening a terminal on the fourth cell with an uninsulated wrench—rule number one is to wrap your tools in electrical tape, which I had naturally ignored because I was "just doing a quick check." The wrench slipped and bridged the gap between the positive and negative terminals. The resulting 'crack' of the spark was louder than a 9mm handgun in that enclosed garage.
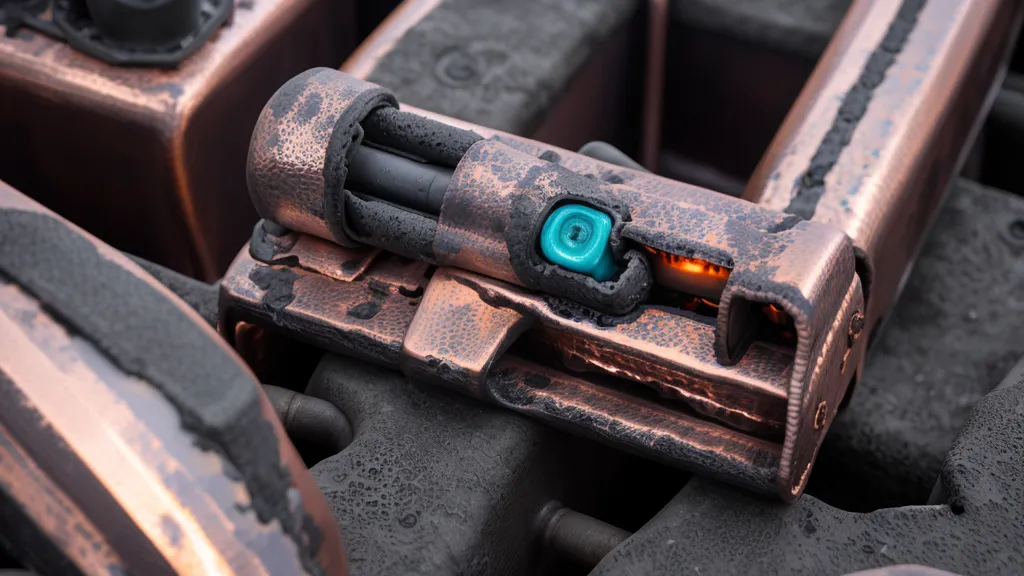
The smell of charred electrical tape filled the air instantly, and I saw a permanent pit melted into my brand-new copper busbar. I froze, waiting for the lithium fire I’d read about in horror stories. Then I heard the door creak open. The sight of my wife standing in the doorway with her arms crossed after the circuit breaker tripped (I’d managed to surge the garage circuit too) was actually scarier than the spark. It was a humbling reminder that while voltage is like bandwidth, current is like a physical flood. If you don't respect the pipe, the pipe breaks you.
The Math of Energy Independence
Once I got the 200A BMS wired up—which is essentially the operating system that prevents the batteries from over-discharging or melting down—I tallied up the damage. The total build cost hit about $1,045. That includes the cells, the BMS, and about forty-five bucks for busbars and lugs. If you compare that to a pre-built server rack battery from a big name, I saved about six hundred dollars. More importantly, based on my utility savings equivalent, it would only take about three months of those $380 Phoenix summer bills to pay off this entire storage build.
I've talked before about why the power grid generator beats other portable power stations when you need sustained, heavy-duty output, and this battery bank is the missing piece of that puzzle. While gas generators are easier to set up, the silence of a battery bank is worth the assembly stress. There’s something deeply satisfying about watching the multimeter show a steady 26.4V while the sun is down and the fans are still spinning.
The Phoenix Problem: Why Most DIY Banks Fail
Here is my contrarian take on the DIY battery scene: everyone is obsessed with capacity, but almost no one talks about thermal management. In Phoenix, when the garage hits 115 degrees in July, a dense battery bank becomes a liability. Prioritizing high-capacity lithium cells often leads to premature failure because most DIYers fail to account for the disproportionate cooling requirements needed to prevent Thermal Runaway in dense banks.
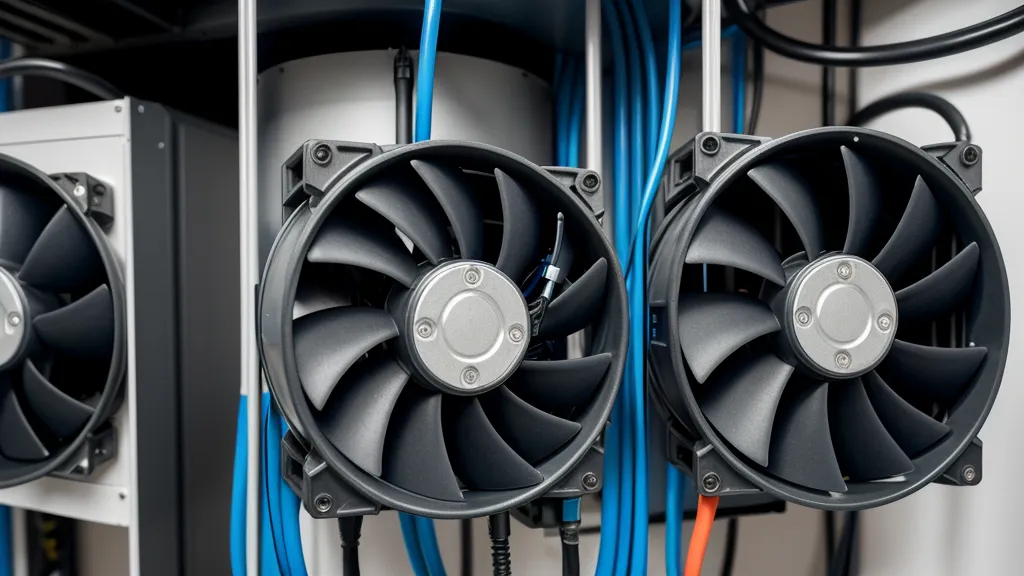
If you pack eight 280Ah cells into a tight, uninsulated plastic box, the internal heat has nowhere to go during high-discharge periods (like when the fridge compressor kicks on). I ended up mounting my cells with half-inch air gaps between them and installing two 120mm fans I had left over from an old PC build. It looks like a Frankenstein server, but keeping those cells under 95 degrees is the only way they’ll last the ten years they're rated for. I learned this the hard way after my first small-scale test showed me just how fast heat kills efficiency in the desert.
Final Logs
By late March, the system was fully integrated. The first night the garage fridge ran entirely on stored sunshine was a quiet victory. No humming generators, no checks written to the power company, just a bunch of blue bricks doing exactly what I told them to do. It isn't perfect; my wiring still looks like a bird's nest in places, and I still have that pit in the busbar as a reminder of my wrench-slipping stupidity. But for an IT guy with a multimeter and a grudge against the electric company, it's the most functional thing I've ever built in this garage. It’s not about saving the planet—though that’s a nice side effect—it’s about seeing that utility bill drop and knowing I’m the one in control of the uptime.