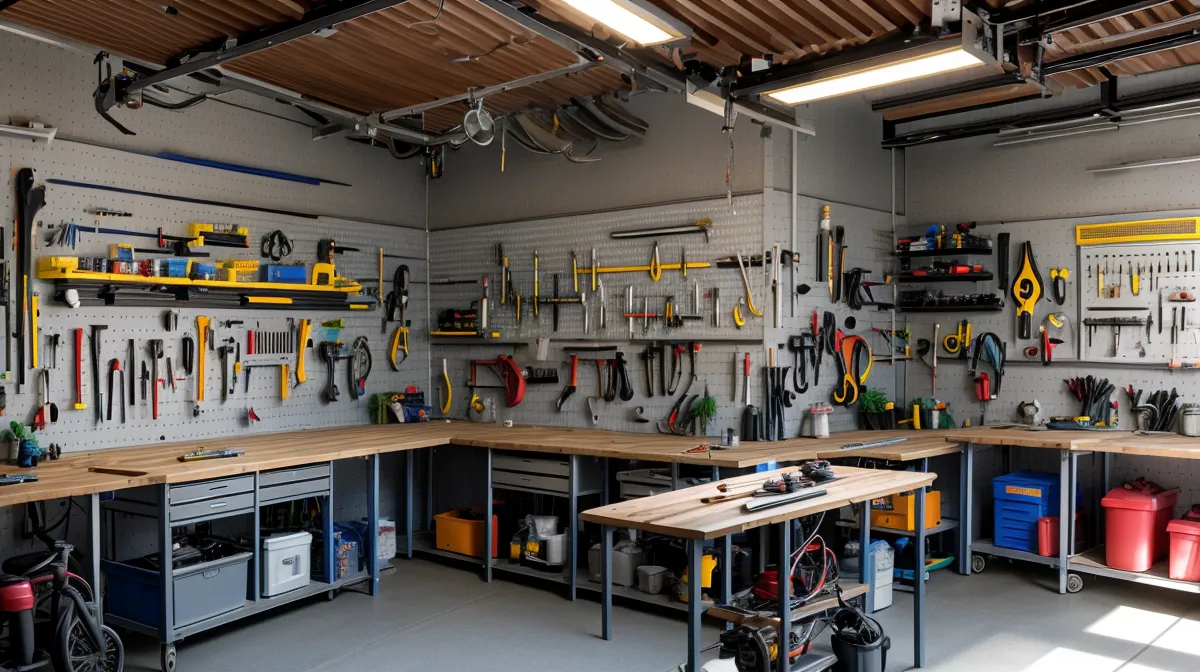
The heat just hit triple digits for the first time this year, and for most of my neighbors in suburban Phoenix, that means the season of dread has officially arrived. I’m standing in my garage—which currently looks like a 1994 Radio Shack exploded inside a woodshop—staring at my digital meter. A few years back, this was the time of year when my electric bill would consistently spike to $380, a number that felt less like a utility charge and more like a monthly penalty for living in the desert. But this morning, as the sun starts baking the pavement, I’m looking at a system that finally makes sense because I stopped treating solar like a 'green project' and started treating it like a network upgrade.
I’ve spent the last 18 months in this garage, testing everything from magnetic generators that did nothing but vibrate to wind turbines that were about as effective as a desk fan in a hurricane. I’m not an engineer or a licensed electrician; I’m just a guy who’s spent twenty years in IT support troubleshooting server lags and network bottlenecks. When my bill hit that $380 mark for the third year in a row, I realized my house had a massive power throughput problem. I was trying to run a high-bandwidth lifestyle on a dial-up budget. To fix it, I had to stop guessing and start calculating. If you’ve ever had to spec out a server rack or plan a data migration, you already know more about solar than you think.
Step 1: Measuring Your Throughput (The Bandwidth Audit)
In IT, you don't just buy a random server and hope it handles the database load. You perform a load audit. You look at the peak traffic, account for background processes, and build for the worst-case scenario. Solar is exactly the same, but instead of gigabytes, we’re measuring kilowatt-hours (kWh). Before I bought a single panel, I had to figure out my home’s daily 'data' usage.
I started by pulling my last twelve months of bills. In Phoenix, your December bill is irrelevant—it’s the July and August peaks that matter. My highest usage was roughly 900 kWh for a 30-day cycle. Divide that by 30, and you get my Daily Target: 30 kWh. This is the baseline. If I want to zero out that $380 bill, my solar array needs to push 30 kWh of energy into my home or the grid every single day. If you’re doing this at home, find your highest summer bill and do the same math. That number is your 'bandwidth' requirement.
I went a step further and started tracking individual 'rogue processes.' I used a basic plug-in energy monitor to see what my office server rack was pulling. It turns out that my 'space heater' (as my wife calls it) was pulling a steady 300 watts 24/7. That’s 7.2 kWh a day just to keep my home lab running. Then there was the pool pump—the ultimate background service that never stops eating. By identifying these loads, I realized that cutting the power bill wasn't just about generating more power; it was about optimizing the house before I even touched the roof. I managed to drop my baseline by about 15% just by killing 'vampire' loads, which made my solar target much more manageable.
Step 2: Calculating Uptime (The Peak Sun Hour Reality)
Here is where most DIYers get tripped up. They think if the sun is up for 13 hours in June, they get 13 hours of power. In networking terms, that’s like assuming a 1 Gbps connection gives you full speed every second of the day. It doesn’t. You have latency, peak-hour congestion, and signal degradation. In the solar world, we call this 'Peak Sun Hours.'
A peak sun hour isn’t just 'daylight.' It’s a specific measurement where the sun’s intensity reaches 1,000 watts per square meter. In Phoenix, we are blessed with some of the best 'uptime' in the country, averaging about 6 to 6.5 peak sun hours. If you’re in the Pacific Northwest, you might only see 3.5. This is your narrow window of maximum throughput. Everything your system produces has to happen in this slice of time.
The basic math looks like this: Daily Load / Peak Sun Hours = Raw Array Size.
For my 30 kWh goal: 30 / 6 = 5 kW. But wait—if there’s one thing I’ve learned from 20 years of fixing printers and crashed servers, it’s that the theoretical maximum is a total lie. If I built a 5 kW system, I’d be underpowered from day one.
Step 3: The Inefficiency Tax (Accounting for Latency)
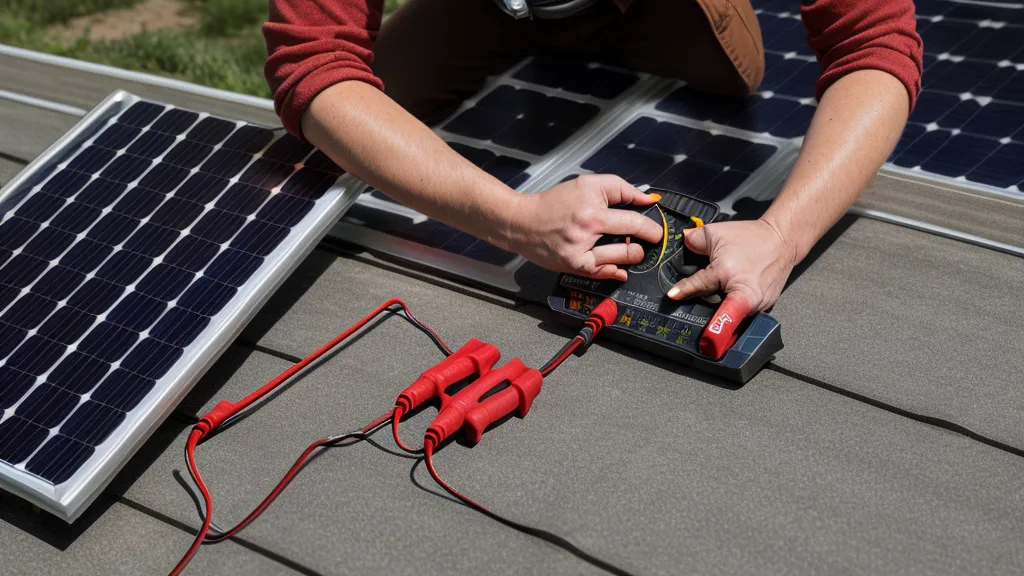
In a network, you have overhead—headers, encryption, and packet loss. In a DIY solar setup, you have 'system losses.' My first experiment in the garage involved two 100-watt panels and a cheap inverter I found online. I expected 200 watts. I got 130. Why? Because I didn't account for the 'latency' of hardware. When you’re building your kit, you have to account for several factors that eat your power before it ever reaches your toaster.
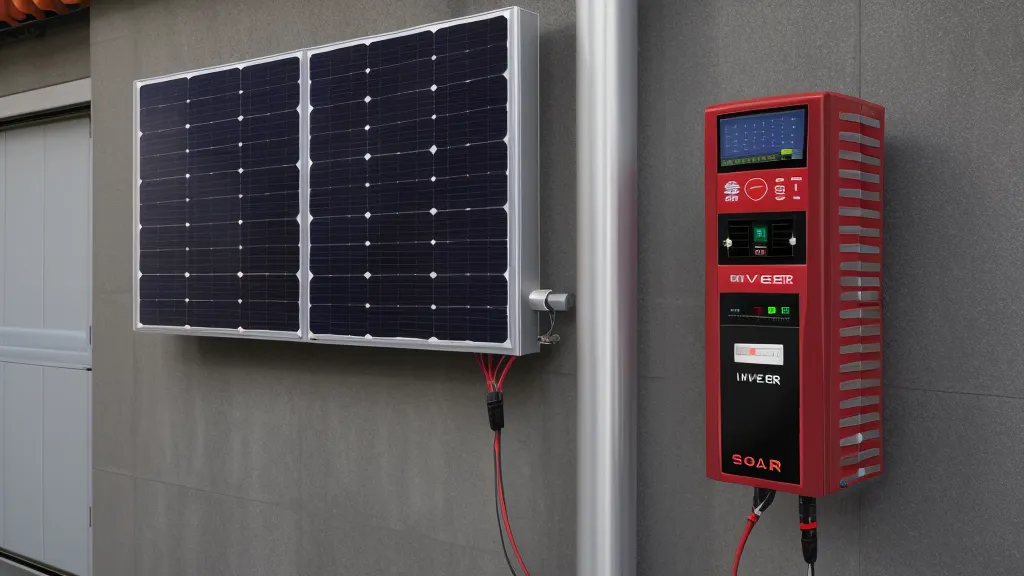
First, there’s inverter efficiency. Converting DC power from your panels to the AC power your house uses isn't free; you usually lose about 10-15% in the translation. Then there’s the heat. Most people don't realize that photovoltaics actually hate the heat. Once those panels on my roof hit 110°F (which happens by 10 AM in July), their efficiency drops off a cliff. It’s exactly like a CPU throttling down when the cooling fan fails. Add in some desert dust—which acts like a physical firewall for sunlight—and your 400-watt panel is suddenly behaving like a 300-watt panel.
I also learned a painful lesson about wiring. During one of my 'science experiments' last spring, I used some leftover thin-gauge wire for a battery connection. The wire got so hot I could smell the insulation melting. It was a classic bottleneck. To avoid this, you need to know how to wire multiple solar panels correctly using the right gauge to minimize resistance. Resistance is the energy equivalent of network congestion—it just slows everything down and generates heat.
To fix the math, I apply what I call the 'Fudge Factor' of 1.4. This adds a 40% buffer to account for heat, dust, and conversion losses.
5 kW (Target) x 1.4 = 7 kW Array Size.
Step 4: From Watts to Hardware (The Physical Install)
Now that I knew I needed a 7 kW 'pipe' to handle my 30 kWh daily load, I had to figure out the hardware count. Standard panels these days are usually around 400 watts.
7,000 Watts / 400 Watts = 17.5 Panels.
Since you can't exactly buy half a panel at the local shop, I rounded up to 18. This is where you have to look at your 'rack space'—your roof. Each panel is roughly 17.5 square feet. Eighteen panels require about 315 square feet of unshaded, south-facing real estate. I spent a Saturday mid-morning on a ladder with a tape measure, realizing that my neighbor’s massive palm tree was going to be a 'signal blocker' for at least two of my potential panel spots. I had to shift the layout, which is just like moving a Wi-Fi router to get around a concrete wall.
I'm not going to lie—I made some classic 'Level 1 Tech' mistakes during the build. I once wired a whole string in parallel when I meant to go in series, which resulted in a voltage so low my inverter wouldn't even wake up. It was the electrical version of a network loop. I spent three days checking my multimeter before I realized I’d basically plugged a patch cable into two ports on the same switch. If you're feeling adventurous with your own builds, I've written about my other mishaps, like the time I spent weeks troubleshooting the Orgone motor only to realize my alignment was off by a fraction of an inch. It's all part of the DIY tax.
The Bottom Line on the DIY Approach
By the time I finished the install earlier this spring, I had spent roughly five thousand dollars on panels, racking, and a mid-range inverter. A professional solar company had quoted me nearly twenty-five grand for a similar setup. They wanted to 'over-provision' me with a 12 kW system I didn't need. It’s like a salesperson trying to sell you a liquid-cooled gaming rig when you just need to check your email.
I should probably mention that I’m not a professional, and if you’re not comfortable with high-voltage DC, you should absolutely consult a licensed electrician before you start poking around your main breaker panel. I have zero formal training, and I still double-check every connection with a multimeter like it’s a failing server port. Safety isn't just a suggestion; it’s the difference between a working system and a garage fire.
Last month, for the first time since I moved to Phoenix, my electric bill didn't make me want to move to Alaska. It showed a small credit. It wasn't magic, and it wasn't some 'free energy' breakthrough from one of my garage experiments. It was just basic capacity planning. I measured the load, accounted for the latency, and built a pipe big enough to handle the traffic. If you're tired of being held hostage by the power company every summer, stop looking at the shiny hardware and start looking at your data. The math is the only thing that actually beats the heat.