
Grid power doesn't care where the electrons come from; my garage setup does, tracking every watt back to a specific panel or battery the moment something looks off. That difference is most of the reason I built a DIY solar off-grid power rig instead of just grumbling at another utility bill. This isn't a whole-house backup and it isn't a generator shootout; it's a small system sized for real energy savings on shop tools, a backup fridge, and whatever else actually needs to keep running when the power blips, all wired up in a suburban garage workshop.
Quick note up front: a few of the links below are affiliate links, including one tied to the build guide that helped me keep this project from becoming a fire hazard. Click through and buy something, and I earn a small commission — you don't pay a cent more for it. I only link to gear and guides I've actually installed or followed myself, not stuff I read about secondhand.
I fix networks for a living, not electrical systems, so I lean on the same troubleshooting logic here as I do at a service desk: voltage is bandwidth, amperage is the data actually moving through the pipe, resistance is lag. Too much lag under load and hardware overheats; too much resistance in a DC circuit and wire insulation melts. The analogy only goes so far, though — a crashed router just needs a reboot, and a mis-wired battery bank does not forgive you the same way. I'm not an electrician or an engineer. Anything involving your home's main service panel belongs to a licensed professional, full stop.
These days one whole bay of the garage is pegboard, cable bundles zip-tied and labeled like patch cords in a server closet. A folding workbench holds a clamp-on multimeter and a notepad that's gone soft and yellow at the edges from months of use. A box fan runs in the corner pretty much nonstop from May through September, and a metal shelf nearby holds bins of ring terminals, Anderson connectors, fuses, and enough spare wire to redo the whole system twice over.
Before any of this got bolted to a wall, I did the less exciting part first: a basic home energy audit to figure out where the heat and money were actually leaking. The south-facing patio doors were the worst offender by a wide margin. I taped up reflective window film there as a first attempt at a fix, and it helped — maybe two or three degrees off the room at the peak of the afternoon, nowhere close to what I'd hoped for. That's what pushed me toward generating my own power instead of just trying to keep more of the AC's output inside.
Parts List: What Actually Went Into This DIY Solar Build
The core of the system is four 100-watt monocrystalline panels, wired in parallel rather than series — my charge controller's input window wanted lower voltage and higher amperage than a series string would have handed it, and matching that spec mattered more than squeezing out a marginally higher voltage. If your DC wiring vocabulary stops at "red wire, black wire," I laid out the basics separately in Simple DC Circuit Wiring: A Suburban Dad's Guide before going further here. I ran the parallel-wiring call past Kwame Asante, a guy I know from a solar-wiring forum thread who's more into antenna theory than charge controllers these days, and he'd landed on the same layout for his own 12-volt bank over in Glendale. Panel output feeds a 40-amp Maximum power point tracking (MPPT) charge controller — I picked MPPT over a cheaper PWM unit because it keeps harvesting useful current even once the panels are baking in full Phoenix sun, which a PWM controller can't match. Output eventually runs through a 2000-watt pure sine wave inverter; I skipped the cheaper modified sine wave option because a couple of my shop tools and the fridge compressor don't run cleanly on that choppier waveform. Everything ties together with 4AWG and 10AWG wire, a stack of fuses, and a busbar, most of it picked up in one run to Costco on Paradise Valley Parkway, with a few connectors ordered online afterward.

None of this is cheap, and total cost lands solidly in four figures once panels, controller, batteries, inverter, and wiring are all accounted for — I'm not going to pretend otherwise, and I'd rather point you at real ballpark math than a fake precise number. What kept the safety fuses and wiring sized correctly was a blueprint called the Energy Revolution System, mostly because it's written around parts you can actually find at a normal hardware store instead of specialty connectors that take three weeks to ship. Think of it as documentation for a system that doesn't otherwise come with a README.
Wiring the Panels to the Charge Controller
Mounting panels is the physical layer — bolt them down, angle them, done. I fixed the tilt to favor summer sun rather than chasing whatever angle a chart calls the theoretical year-round optimum, since Arizona summer afternoons are exactly when the AC load — and the payoff — peaks. The wiring is where things actually go wrong. My first mistake was running wire too thin for the distance between the panels and the controller, the DC equivalent of trying to push a gigabit connection through an ancient patch cable. I measured 18 volts at the panels and barely 16 volts at the controller, a full 10 percent lost to heat in the wire before the power ever reached storage. Swapping to 10AWG PV-rated wire fixed it immediately — I clocked a steady 385 watts of input during peak sun afterward, close to 96 percent of the panels' rated output. The fuller list of wiring mistakes worth skipping is in 5 Wiring Mistakes I Made So You Don't Burn Your Garage Down.
Setting Up the Battery Bank
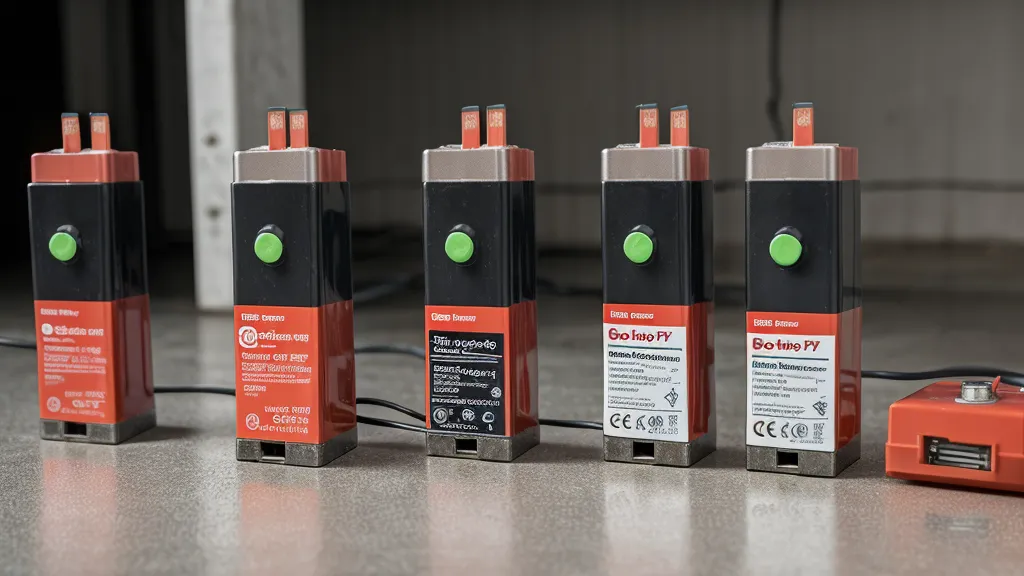
Battery chemistry decisions come down to durability more than anything else. Lead-acid is the spinning hard drive of the battery world — cheap, but it degrades fast if you draw it down hard and often. Lithium iron phosphate battery (LiFePO4) chemistry tolerates a deep discharge to 10 percent without much complaint and holds up over thousands of cycles, which is the entire reason it costs more up front. Wiring two cells in parallel is not a place to guess: connect two batteries sitting at different voltages and they'll try to equalize instantly, which is how a tidy battery bank turns into a genuinely dangerous current spike. I synced both cells to within 0.05 volts on a multimeter before making the final connection — if you've never checked that yourself, I walked through the exact process in How to Test Solar Panel Voltage with a Multimeter at Home. Sizing the bank itself is really its own calculation; I landed on 200Ah of usable LiFePO4 storage based on what my evening loads actually draw, not a number borrowed from someone else's build.
A reader named Juniper Halloway emailed me a while back with her own voltage readings already charted before she'd even finished explaining the problem — more homework than most people do before hitting send. It's a good habit. Half of getting a battery bank right is being willing to put a meter on it before assuming the worst.
For smaller loads — charging a phone, keeping a router alive through a blip — I've also poked at compact alternatives that skip the roof or patio space a full panel array needs. The Orgone Motor guide is the more experimental of the two, more of a side project than a primary power source, but worth a look if panel space is the actual constraint. For someone who just wants a low-cost way to keep a phone and a router alive through a short outage, the Power Grid Generator guide is a cheaper starting point than the LiFePO4 route above.
How Much Power Did This System Actually Produce?
Thirty days of logging is enough to see a pattern, even if it's not a full seasonal picture. Average daily harvest landed around 2.2 kWh. In Phoenix, that's enough to run a 12,000 BTU portable AC in the garage for three or four hours during the worst part of the afternoon, on top of keeping power tools charged and a laptop running. It's not a full disconnect from the utility company — this setup still leans on the grid overnight and on cloudy days — but it measurably cuts how much of my peak-hour usage actually gets billed.
The bill numbers back that up, even if they're not dramatic. My average monthly bill before this build sat around $380. After a month of running the system, it dropped to roughly $345 — about $35 in savings from one small array. That's not going to pay for the hardware overnight, but it's a proof of concept more than a finished result, and scaling a setup that already works is a much easier problem than designing one from nothing. I've since been looking at the Energy Revolution System Transition plan to see what covering more of the garage's daytime load would actually take.
Where This Build Failed
About two weeks into running the system, it went dark with a low-voltage error showing on the inverter despite full sun on the panels. I spent a few hours checking continuity end to end before finding the actual problem: a cheap 60-amp breaker had failed internally while its physical switch stayed stuck in the on position, so nothing about it looked broken at a glance. Swapping it for a proper name-brand DC breaker fixed the issue for good. Cutting corners on the breaker was the wrong place to save money on this build.
The bigger disappointment was a small wind turbine I tried alongside the solar setup. It mostly vibrated the fence and irritated a neighbor's dog without producing anything worth measuring. In a suburban Phoenix yard, solar wins by default — it's silent, predictable, and has no moving parts to wear out or lubricate, where a small turbine in a subdivision is mostly noise.
Is a Small Off-Grid Solar Power Setup Worth Building?
This isn't about living in a cabin or cutting the utility company out entirely — it's about redundancy. When the monsoons roll through and the power actually goes out here, the fridge stays cold and the router stays up without me thinking about it. That's worth more to me than the number on the monthly bill, though the savings help the math make sense.
If you're staring at your own bill wondering whether this is worth a weekend, start with an actual blueprint instead of piecing it together from random video clips — the Energy Revolution System is the one that walked me through sizing the fuses and terminals without guessing at a 24-volt DC arc flash. Treat your DC wiring the way you'd treat network cabling: sized correctly, labeled, and double-checked before you power anything on. Red is positive, black is negative, and mixing those up is the fastest way to find out what a fried terminal smells like.