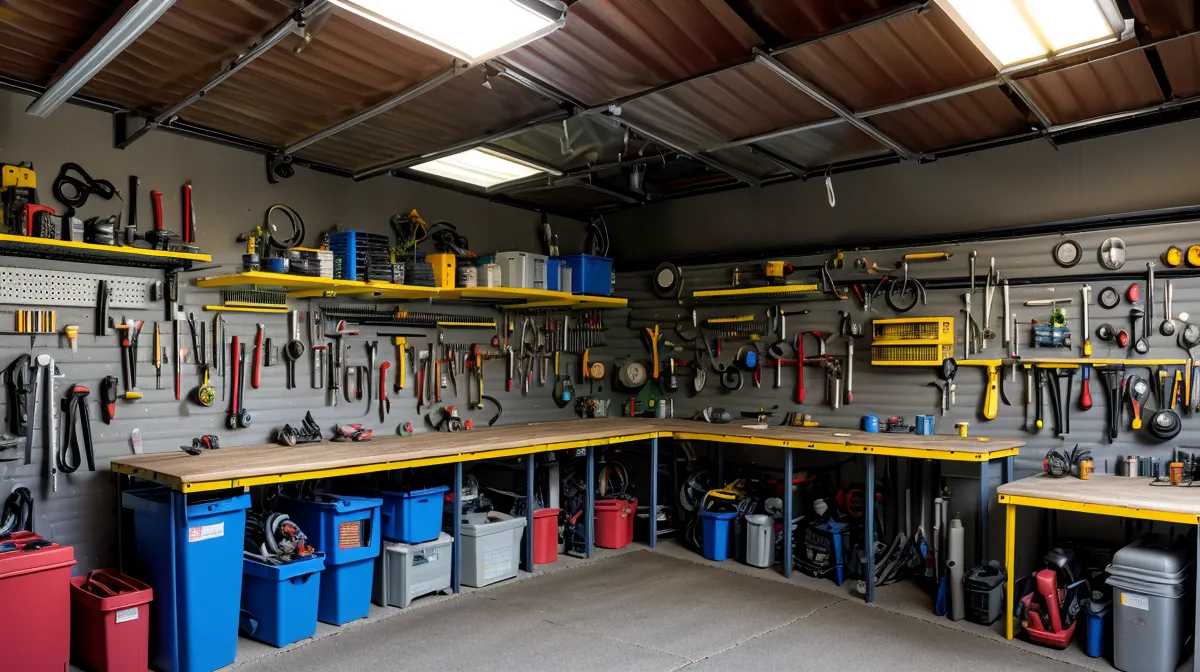
Wire strippers in one hand, a spool of 10 AWG in the other, and I'm three lugs deep into a distribution block that's about to become the backbone of my garage's DC wiring. This is the unglamorous part of any DIY solar project that nobody photographs for the forum thread: the boring, essential work of getting a battery backup system wired correctly before you ever flip a switch. Off-grid basics don't start with panels on the roof. They start right here, with a multimeter and more patience than I usually have on hand.
Before any of this, I'd already tried the cheap fixes. Reflective film on the south-facing patio doors was supposed to cut the afternoon heat load, and it knocked maybe two or three degrees off at best, a fancy way of saying it did almost nothing against a Phoenix summer, and it never showed up on the electric bill in any way I could measure. That's roughly when building something started seeming smarter than buying something.
A proper home energy audit would have told me exactly where the house was leaking money before I ever touched a spool of wire, and that's still the right first move for anyone reading this — just not the project on the table today.
Off-the-Shelf Speaker Wire Will Ruin Your DC Circuit
Direct Current flows one direction only, which is the whole reason polarity, positive and negative, actually matters here. AC is closer to a broadcast signal, indifferent to direction. DC is point-to-point, like a dedicated network link, and reversing the leads is the electrical equivalent of plugging a router's power supply in backwards: you've turned working hardware into a paperweight, except the DC version can also make things hot enough to smell bad.
Most of the panels, controllers, and battery banks in this hobby run on a 12-volt architecture, which sounds harmless enough that people get careless with it. Nobody's getting electrocuted touching a bare 12V terminal. What catches people off guard is the current — the amperage can be enormous even though the voltage is low, the same way a short, wide pipe moves more water than a long thin one at the same pressure.
None of that current reaches this wiring in the first place without a charge controller sized to handle it — PWM or MPPT, an entirely separate argument I won't get into here — sitting between the panel and the battery.
How the panels themselves are wired together, in series or in parallel, changes the voltage and current this circuit has to handle before the controller even gets a say. So does the tilt angle on the panel, which quietly determines how much current shows up here on any given afternoon.
The specific ways this goes wrong in practice are catalogued in more detail than I want to relive here in 5 Wiring Mistakes I Made So You Don't Burn Your Garage Down.
The Real Difference Between 10 AWG and 14 AWG
Ampacity — how much current a wire can carry before things go wrong — is where most home-brew DC setups actually fall apart, and it took longer than it should have to sit down and calculate it properly for a set of real runs instead of guessing.
Ten-gauge wire is the workhorse of this hobby for a reason: it's thick enough to carry a real load, say twenty amps, without turning into a low-grade heating element. Fourteen-gauge wire on that same load is a common enough mistake that you'll find it mentioned in almost every DIY solar forum thread. The insulation gets warm and slightly tacky under sustained current, which is the wire quietly telling you it's undersized before anything worse happens.
Voltage drop is the other half of this equation, and it's sneakier because nothing necessarily looks wrong. Because the pressure pushing electrons through a 12V system is so low to begin with, a wire that's too thin or a run that's too long just bleeds energy along the way — the load at the far end gets less than what left the battery, the same way a weak Wi-Fi signal three rooms away still shows full bars while the actual throughput is garbage.
Does Thicker Wire Always Win?
No, and this is the part most guides skip. Using the thickest wire you can find for every connection sounds like a safe default, but oversized cable on a small screw terminal creates its own failure mode — mechanical strain that a tiny terminal block was never designed to handle.
Kwame Asante, a guy I originally connected with over a forum thread about charge controller wiring and now trade test numbers with by email, put it to me bluntly once: an oversized cable snapping a terminal off a board isn't a safety upgrade, it's just a different way to break the same circuit. He won't take a claim about a build seriously unless there's a measurement attached to it, which is a good habit to steal.
The fix is matching wire to the physical port, not just the electrical load. A distribution block lets you transition from heavy battery cabling down to the smaller gauge that actually fits a charge controller's screw terminals, the same way a network closet steps a fat backbone cable down into patch cables that fit an actual switch port.
Fusing Protects the Wire, Not the Gadget
A fuse in a DC system exists to protect the wire, not the device plugged into it. If that ten-gauge run shorts out, it can carry enough current to go white-hot in seconds, and a properly rated blade fuse — thirty amps is typical for a ten-gauge circuit — is what keeps that from turning into a bigger problem.
Juniper Halloway, a reader who emailed me about a 12V battery bank that kept tripping its breaker, is a good example of why this matters. She'd spent a stretch blaming the battery itself before she posted her setup on a forum and let people who do this for fun pick it apart, crediting the answer to that group rather than guessing alone — exactly the right move. The actual problem was the interconnect wire between her batteries: undersized for the current it needed to carry, so it was heating up and acting like an accidental fuse, tripping the breaker before anything worse happened downstream.
I install the fuse last, after every connection is tight and polarity's been double-checked with a multimeter — the DC equivalent of not hitting Enter on a config change until you've read it twice.
Testing the Circuit Before You Trust It
How big the battery bank itself needs to be is a sizing question entirely separate from how this circuit gets wired, and worth working out before you commit to any of it.
If anything downstream runs through an inverter, pure sine versus modified sine is a whole separate argument, but none of it matters if the DC side feeding it isn't solid first.
Before I trust any of it, I check for continuity end to end and confirm the voltage at the far side of the run actually matches what's leaving the battery, not just what the meter reads sitting on the terminals.
Where the Off-Grid Basics Actually Add Up
Parts for this kind of build are unglamorous — lugs, ring terminals, distribution blocks — and I've picked up more of them than I'd like to admit during ordinary supply runs to Costco on Paradise Valley Parkway, right next to the milk and the tires.
My wife walked into the garage with her phone still lit up from the utility app, turned it toward me, and said the number looked lower than she expected this cycle. That's the only scoreboard that actually matters in this hobby.
None of this is about cutting ties with the utility company entirely, and it was never really about the planet either. It's about the satisfaction of watching that meter slow down because you moved a few electrons around correctly on your own terms. If you want the wider argument for why this is worth doing at all, I laid it out in Solar vs. Gas: The $380 Bill That Forced Me to Choose (And Why I Built My Own).
The short version, if you remember nothing else: size the wire to the load and the ampacity chart, size the fuse to protect the wire rather than the gadget, and check polarity with a multimeter before anything gets permanent. Get those three right and the rest of the system mostly takes care of itself. None of this replaces an electrician for anything permanent tied into your home's main panel — this is garage-scale DIY, not a rewire of your kitchen.