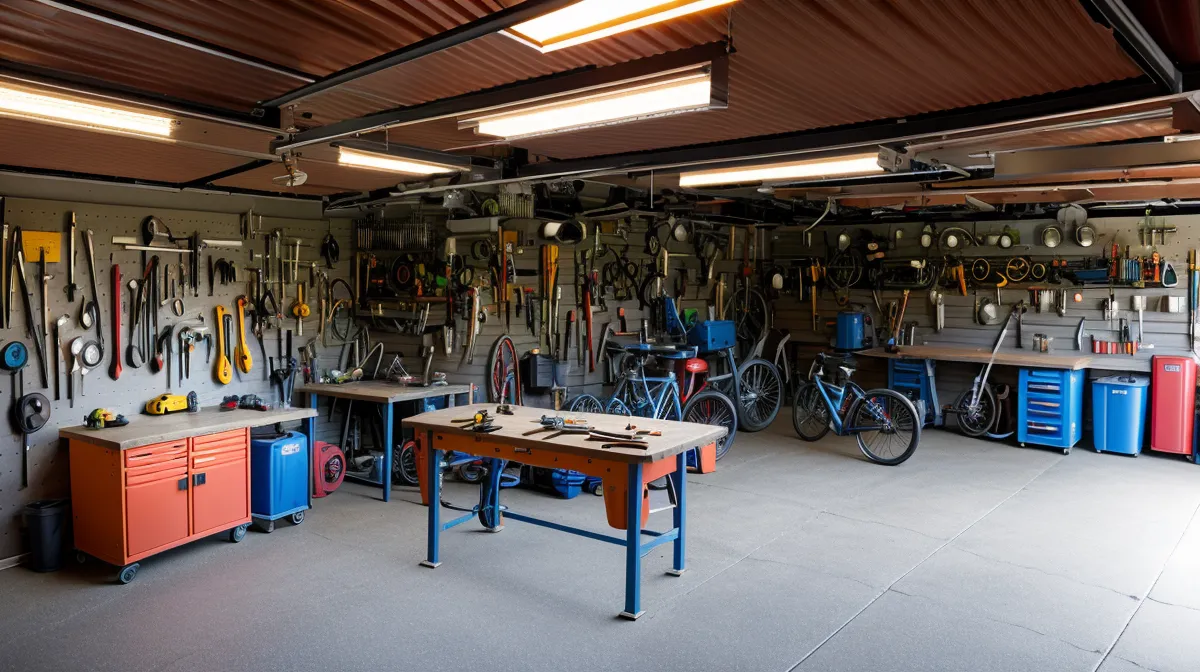
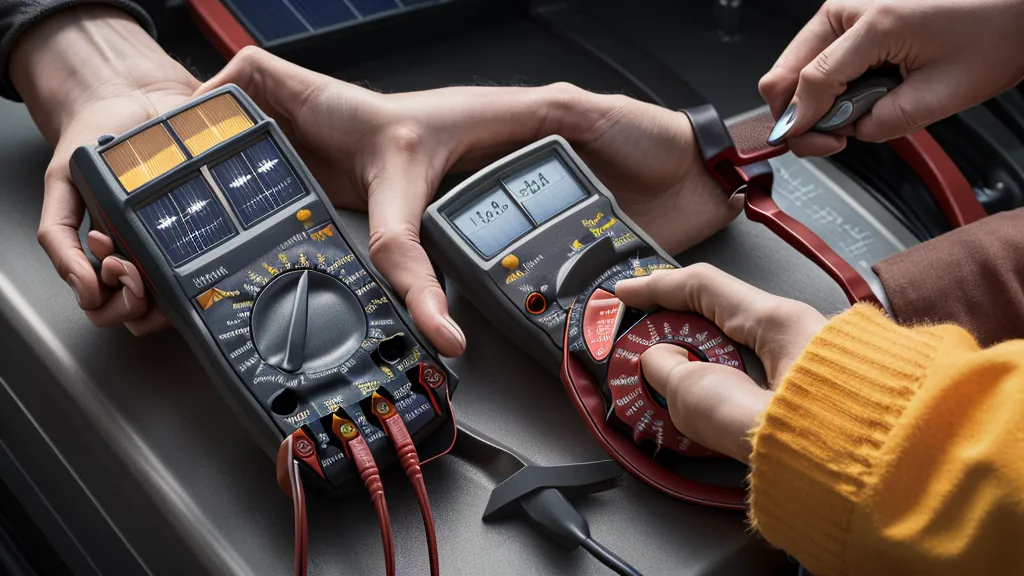
It was mid-afternoon in mid-August, right in the middle of that brutal stretch where the Phoenix sun turns every horizontal surface into a griddle. I was out in the garage, tweaking my first real battery bank setup, and I reached over to check a connection. When my thumb brushed the positive lead coming from the charge controller, I didn't just feel heat; it felt like a fresh slice of pizza straight out of the oven. Not the kind that's pleasantly warm, but the kind that makes you instantly worry about the structural integrity of your roof. My multimeter was showing a healthy charge, but that wire was screaming for help.
That was my first real lesson in the physics of DIY energy. In my day job as an IT support technician, I deal with bandwidth and packet loss. If a Cat6 cable is too long, the signal just drops. In the world of solar power, if your 'bandwidth' (wire gauge) is too small for the 'data' (amperage) you're pushing through it, the wire doesn't just fail to deliverâit turns into a heating element. I started this journey because my summer electric bill hit $380 for the third year in a row, and the last thing I wanted to do was set my garage on fire while trying to save fifty bucks on my utility statement.
The Bandwidth of Power: Understanding AWG
When you're starting out, you'll see a lot of talk about American Wire Gauge (AWG). If you're coming from the IT world, think of AWG like the inverse of your internet speed. With AWG, the smaller the number, the 'fatter' the wire. A 10 AWG wire is much thicker and can carry more current than a 12 AWG wire. Itâs counterintuitive, like trying to explain to my wife why a Cat5e cable is slower than a Cat6 even though they look identical from across the room.
Most of those bargain solar kits you find online come with wire that looks more suited for a pair of bookshelf speakers than a 200-watt power system. They usually throw in some 12 AWG or even 14 AWG wire and call it a day. In late September, I realized that using the 'included' wires was the equivalent of trying to run a high-traffic database server over a 10/100 hub. It technically works, but you're losing so much in the process that itâs almost offensive.
According to the National Electrical Code (NEC) standardsâwhich Iâve spent way too many late nights reading latelyâthe 10 AWG copper wire ampacity is rated for 30 amps. Meanwhile, 12 AWG copper wire ampacity is generally rated for 20 amps. If your panels are pushing 25 amps and youâre using 12 AWG wire because it was 'in the box,' youâre running a continuous overclock on a system that has no heatsink. Thatâs how you end up with the acrid, metallic smell of scorched PVC insulation lingering in the stagnant air of a 110-degree garage, which is a scent that stays with you long after you've cut the power.
Distance is the Latency of DC Power
One Saturday morning in November, I was frustrated. My multimeter showed 19 volts at the panels on the garage roof, but by the time the power traveled through the 50-foot run of wire to my charge controller, I was only seeing 16 volts. I was losing 3 volts just in the transit. In networking terms, this is massive latency. In solar terms, this is 'voltage drop,' and itâs the silent killer of DIY efficiency.
Industry standard engineering practice suggests a recommended maximum voltage drop for DC circuits of 3%. Anything more than that, and you're basically burning money. Youâre paying for solar panels to generate power that never actually reaches your batteries because itâs being converted into heat inside the wires. To combat this, I had to learn that distance is the enemy and thickness is the only defense. If you're running a 12V system, voltage drop hits you much harder than it does on a 48V system. It's about the ratio; losing 2 volts on a 12V line is a disaster, while losing 2 volts on a 48V line is just a minor annoyance.
If you're still figuring out how to position your panels to get that maximum initial voltage, you might want to check out my notes on Adjusting Your Solar Panel Tilt Angle for Better Summer Output. Getting the input right is the first step, but keeping that power as it travels down the wire is where the math really matters.
The MC4 Bottleneck
Another thing I learned the hard wayâand yes, there was smoke involvedâis that the wires are only as good as the connectors. Most solar panels use MC4 connectors. A standard MC4 connector current rating is 30 amps. If youâre wiring multiple panels together, you need to be very careful about how you combine those currents. I remember staring at a blistered plastic connector after trying to parallel three large panels into a single line. I realized my 'simple' wiring mistake could have cost me the whole garage.
Iâm not an engineer or a licensed electrician, and I highly recommend you talk to one before you do anything permanent. Iâm just an IT guy who likes to tinker. But from my testing, I've found that using solar-specific PV wire is a non-negotiable. It has UV-resistant insulation designed for the sun. Standard THHN wire from the hardware store aisle will eventually crack and fail under the Arizona sun like an old dashboard. When you're calculating your wire run, always account for the total round-trip distanceâfrom the panel to the controller and back. Thatâs the true length of your 'circuit topology.'
For those of you looking at more complex setups, I've documented my struggles with Wiring Solar Panels in Series vs Parallel for Suburban Battery Banks. Each choice changes how much amperage is flowing through your wires, which directly dictates what gauge you need to buy.
The Contrarian Trap: Why Bigger Isn't Always Better
Here is where I might lose some of the 'pro' solar guys. Most guides tell you to always go as big as possible to minimize voltage drop. Theyâll tell you to use 4 AWG or even 2 AWG for everything. While that sounds great for efficiency, it creates a physical installation bottleneck that no one talks about. Most mid-range solar charge controllers have terminals designed for 8 AWG or 10 AWG wire. If you try to shove a massive 4 AWG cable into a terminal designed for something smaller, you end up doing what I call 'the haircut'âtrimming off copper strands until the wire fits.
This is a terrible idea. When you 'trim' a wire to fit a terminal, youâve effectively turned that 4 AWG wire into a 10 AWG wire at the most critical point: the connection. This creates a high-resistance bottleneck that generates heat right where you want it leastâinside your expensive electronics. Iâve found that it's often better to use a slightly smaller, appropriate gauge that makes a perfect, high-surface-area connection than to use a massive cable thatâs poorly terminated. A solid connection on a 10 AWG wire is safer and more efficient than a hacked-up 4 AWG connection.
Practical Testing: What Actually Saved Me Money
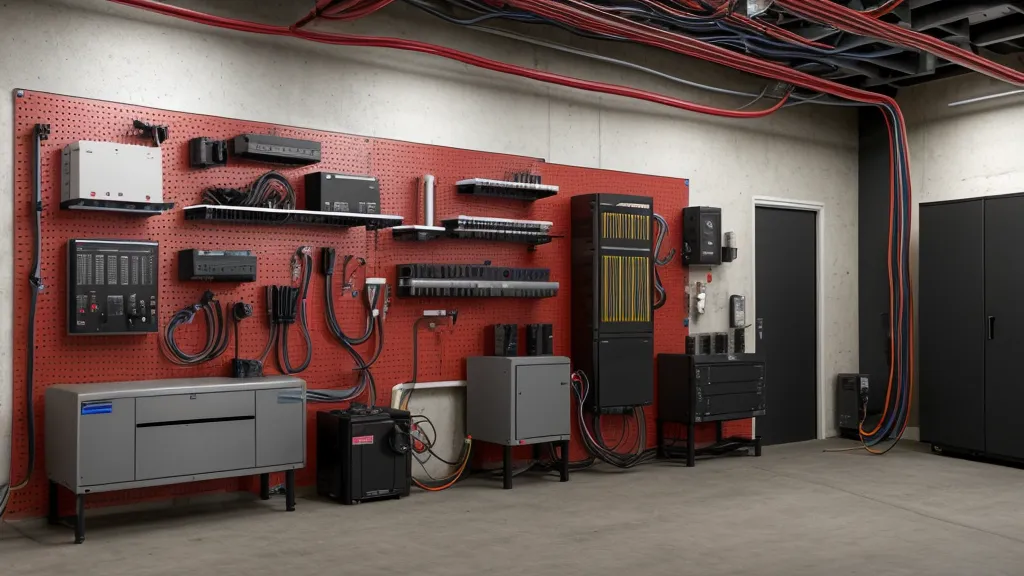
By early March, I had finally dialed in my system. My garage wall now features chunky, well-labeled 4 AWG cables for the short runs between the batteries and the inverter, and solid 10 AWG PV wire for the long runs from the roof. This wasn't cheapâI probably spent about $150 just on quality copper and crimping toolsâbut compared to the $380 monthly bills I was fighting, it was a necessary investment. I even integrated this into my Power Grid Generator for home office use, ensuring my IT servers stay up when the Phoenix grid decides to take a nap during a monsoon.
If you're doing this on a budget, hereâs my rough observation: spend the money on the wire. You can get away with a cheaper mounting bracket or a used panel, but skimping on wire gauge is like buying a Ferrari and putting wooden wheels on it. Youâll never see the performance you paid for, and youâll constantly be worried about things catching fire. Iâm still making mistakes, and Iâm sure Iâll find a way to melt something else by mid-summer, but for now, my wires are running cool, my multimeter is happy, and my wife has stopped asking why the garage smells like a burnt toaster.
Safety in DIY energy isn't just about following a code book you don't understand; it's about respecting the fact that DC current is 'always on' and doesn't forgive mistakes easily. Take the time to do the math, buy a decent crimper, and never, ever trust the wires that come 'free' in a box from a random online seller. Your garage, and your electric bill, will thank you.