How many solar DIY builds actually fail at the panel, instead of at a cheap MC4 connector and a badly folded crimp pin? I keep seeing new builders sweat over panel wattage and charge controller specs while the crimping step between two feet of 10 AWG copper wire gets rushed with whatever tool happened to be in the drawer. Off-grid power only holds together if every joint in the chain does its job, and home energy maintenance has a habit of exposing the weak link eventually, usually the one nobody thought to check.
Most manuals and plenty of YouTube tutorials insist that a dedicated, ratcheting MC4 crimping tool is non-negotiable — buy the specialty tool or your connections are doomed. That advice isn't wrong exactly, but it skips the actual point. The tool is not what makes a crimp reliable. What matters is whether the copper strands fully seat inside the terminal pin, and whether you test that connection before you trust it with current running through your system for years.
None of this started as an idle hobby. I signed up for APS's demand-response program at one point, sweated through two August evenings with the AC dialed back further than I liked, and got back a credit that wasn't worth the aggravation. The summer electric bill hitting $380 for the third year running is the kind of number I refreshed twice in the utility app, certain I'd misread it, and that's part of why I care more about the physical layer of my own system than what any efficiency program promises to shave off.
The Dedicated-Tool Myth About MC4 Crimping
MC4 connectors are a simple stack — plastic housing, rubber seal, compression nut, and a metal terminal pin with two wings that fold over the wire. Every layer has to seat correctly, or the weatherproof IP67 rating stamped on the housing stops meaning anything once monsoon season shows up. That part is genuinely non-negotiable. What's negotiable is the tool you use to fold those wings down in the first place.
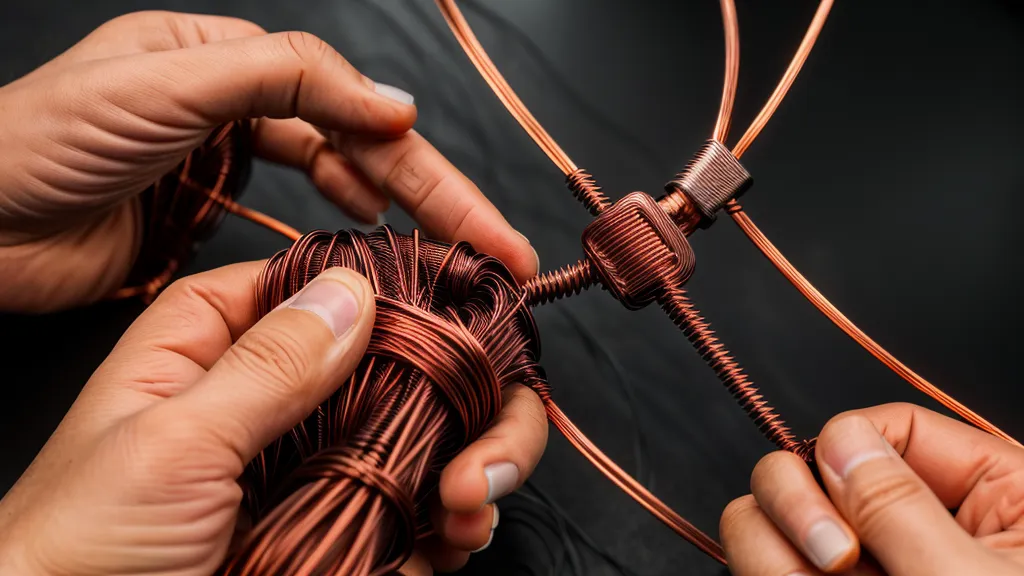
I bought one of these ratcheting "complete solar kits" at the Home Depot on Bell Road in Scottsdale, expecting the mechanism to guarantee a perfect crimp every single time. It didn't. The ratchet released at a fixed depth regardless of whether the wire jacket ran a hair thicker than average or the terminal metal was slightly softer than the last batch, so the crimp looked complete by the tool's own logic while the copper strands underneath sat loose enough to slide out with a firm tug. That's the disappointment nobody mentions in the how-to videos: the dedicated tool's biggest selling point, consistency, is also its blind spot.
Does a Universal Crimper Actually Hold Up?
A high-quality universal wire crimper, the kind IT techs already own for network and low-voltage work, does something the ratcheting kit can't: it lets you feel the crush happen. You sense the moment copper transitions from a loose U-shape into a solid mass instead of trusting a mechanism to release at a preset point. That tactile feedback is the real advantage, not the tool category. Swap in a universal crimper with the correct die for your wire gauge and the result holds up just as well, provided you follow it with one non-negotiable step: the pull test.
My neighbor Rosario, two doors down, asked me flat out whether spending extra on any crimper even matters if the cheap kit comes with more connectors per box. It's a fair, cost-first question, and the honest answer is that the tool matters less than what you do after the crimp is made.
The Pull Test That Actually Separates Good Crimps From Bad Ones
Start by stripping 10 to 15 millimeters of insulation off the 10 AWG wire, enough for the copper to reach the end of the terminal barrel without extending past the locking tabs. Seat the terminal in the crimper, matching the die to the wire diameter, and press until you hear the click of the pin locking into the plastic housing. Slide the rubber seal and compression nut up after that — hand-tight is enough to engage the seal, though a small plastic wrench makes it easier on your fingers if you're doing a dozen of these in one sitting.
Grab the finished connector after that and pull, hard, in line with the wire. If there's even a millimeter of movement, cut it off and redo it; don't reseal it and hope. This is the step the ratcheting-kit crowd skips, and it's the one that actually separates a good crimp from a bad one that just happens to look fine.
I've had to make that call mid-string, with three panels already wired ahead of the one connector in question, and cutting off a technically-finished terminal to start over never feels like the efficient choice in the moment. It's still the right one. A connection that fails after the junction box is buttoned up costs a lot more time than one you catch with a hard yank in the garage.
Obinna, from the Mesa maker space, does this differently and it still works: he reads the full spec sheet for whatever crimper he's using before he touches a single wire, checking rated wire gauge range and jaw geometry against the connector manufacturer's numbers. I skip that step and lean on the pull test instead. Both approaches catch the same problem — a crimp that looks fine and isn't — from opposite directions.
None of this matters much if the wiring downstream of the connector is already working against you. Running panels in series versus parallel changes the voltage and current that connector actually has to handle. A PWM versus MPPT charge controller changes how forgiving your whole system is of a slightly lossy connection. Battery bank sizing determines how much a small loss like that actually costs you over a season. Getting the panel tilt angle wrong for summer output means you're chasing crimp perfection on a system that's already underperforming for a completely different reason. I'd rather see someone run a basic home energy audit before buying a single MC4 connector. Half the "solar didn't save me money" complaints trace back to a load problem, not a wiring problem.
Trust the Pull, Not the Price Tag of the Tool
So skip the debate over which crimper to buy, dedicated or universal, and treat it as the smaller decision it actually is. The real requirement is the same either way: strip clean, seat fully, listen for the click, and pull hard enough to genuinely test it before you trust that connector with current. A cheap ratcheting kit that skips this test will let a bad crimp through with the same confident click as a good one, and an expensive dedicated crimper will do the exact same thing if you get complacent about checking your own work. The tool decides how comfortable the process feels in your hand. The pull test decides whether the connection survives its first Phoenix summer on the roof.
If you're still sorting out what gauge wire to run in the first place, I've laid out my approach to picking a standard solar wire gauge for a home system, and the crimping habits here carry straight over to that build. I go into more depth on how these connections held up over time in my DIY off-grid solar system build experience post, including where a loose crimp cost me the most troubleshooting time. And if you're weighing how permanent DIY wiring like this fits into a bigger backup setup, I compared it against other options when I wrote about how the power grid generator beats other portable power stations for that kind of integration.