Standing in my 104-degree garage at midnight, I was staring at a multimeter that finally showed a steady 12.6 volts while the rest of my Phoenix neighborhood slept under the crushing weight of massive AC bills. My own summer bill had hit $380 for the third year in a row, and I was done being a passive consumer of the local utility monopoly. Just so you know, I use affiliate links on this site; if you buy through them, I earn a commission at no extra cost to you, but keep in mind I only recommend systems like this because I’ve actually built them and sweated over them in my own workshop.
For the last 18 months, my two-car garage has morphed into a weird hybrid of a server room and a 1990s Radio Shack. I’ve tried everything: solar kits that promised the moon, magnetic motors that barely spun, and a few "science experiments" that nearly cost me my security deposit. But when I finally committed to the Energy Revolution System, I stopped treating it like a hobby and started treating it like an IT infrastructure project. I realized that voltage is basically just bandwidth, and if your network topology—or in this case, your circuit layout—is messy, you’re going to deal with massive packet loss in the form of heat and wasted energy.
The $380 Motivation and the Blueprint Phase
My journey started on 2025-12-28, right when the post-holiday "sticker shock" from the utility company usually hits. I was tired of guessing. I’d read plenty of reviews of the Energy Revolution System, but I wanted to see if a guy who still makes basic wiring mistakes could actually pull it off. The digital guide cost me $49, which is about what I spend on a decent wireless mouse, so the entry barrier was low. By 2026-01-14, I had my parts list ready: copper wiring, various hardware store components, and a used deep-cycle battery I found on a local marketplace. Total raw materials cost hit $185, bringing my total system investment to exactly $234.
The build process was oddly satisfying. The video walkthroughs in the guide felt like a high-def YouTube tutorial for a complex server migration. I spent hours navigating the blueprints, making sure I had the exact copper gauge required. There’s something meditative about it—the sharp, metallic scent of hot solder lingering in the garage rafters while the cooling fan on the inverter hums a low B-flat. It’s a far cry from the sterile environment of an IT office, but the logic is the same: follow the documentation, or prepare for a system crash.
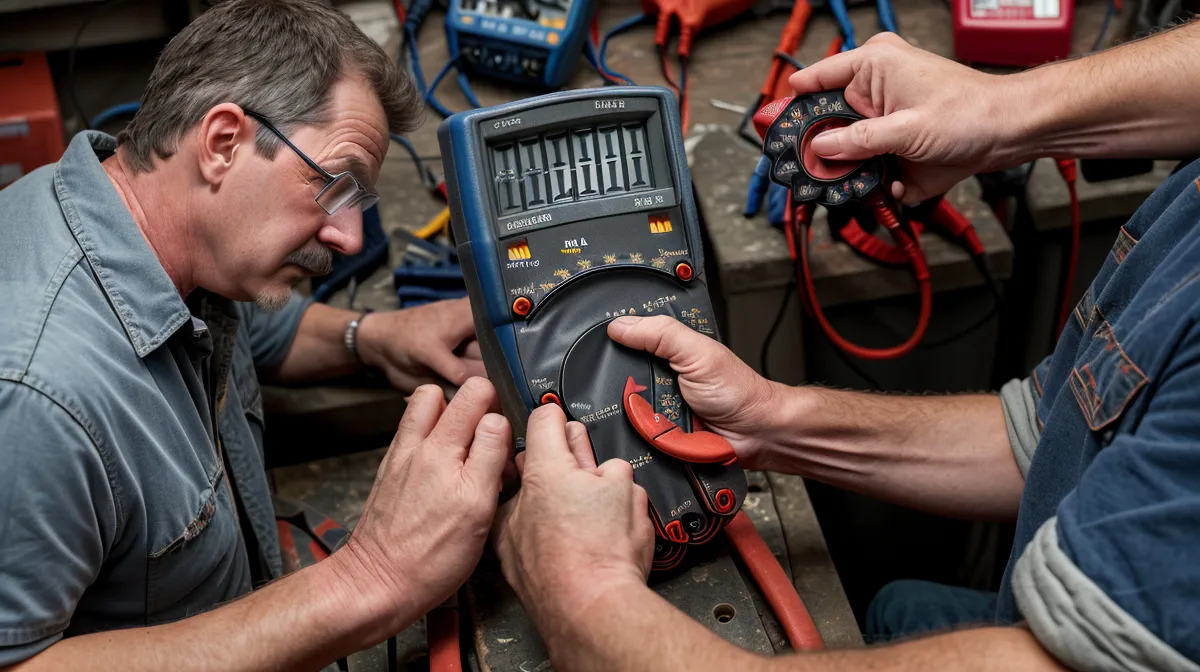
The "Packet Loss" in My Wiring: A 4-Hour Failure
About halfway through the build, around March 10, I hit a wall. I was testing the primary collection assembly and getting absolutely zero readings. I spent four hours troubleshooting a "dead" circuit, checking every connection, re-stripping wires, and getting increasingly frustrated. I was convinced the blueprints were wrong. Then I looked down. I’d left the multimeter on the AC setting instead of DC. It’s the electrical equivalent of trying to ping an IP address while your Ethernet cable is unplugged. I felt like a total amateur, but it’s a mistake I won’t make again. Once I flipped the dial, the numbers jumped to life.
This is where my IT background actually helped. In networking, we talk about Electrical_resistance as the enemy of speed. In a DIY energy build in the Phoenix heat, resistance is the enemy of your bank account. Standard residential copper wiring resistance increases as the ambient temperature rises. In a garage that regularly hits triple digits, your "bandwidth" for energy flow gets throttled. I realized that if I wanted to maximize the Energy Revolution System, I had to optimize the physical layout to minimize that resistance.
Why Standard Advice Fails in the Shadows (and the Heat)
Most DIY guides assume you have the "perfect" environment—a wide-open roof with 12 hours of unobstructed sun. It reminds me of how people give solar advice to full-time RV dwellers who live in shaded forest environments. For those mobile dwellers, traditional fixed-angle optimization is useless because the canopy interference is constantly changing. They have to think differently about energy collection, focusing on efficiency over raw surface area.
My situation in suburban Phoenix is the thermal equivalent of that forest shade. I’m not fighting trees; I’m fighting the heat that makes standard setups inefficient. While I was building, I realized that many of the "tweaks" I was implementing to handle the 110-degree ambient temperature were the same principles those RVers use to squeeze power out of a shaded campsite. It’s about the quality of the connection and the path of least resistance, not just throwing more hardware at the problem. If you're interested in alternative methods that don't rely on massive solar arrays, you might want to look into the Magnetic Generator DIY approach as well.
The 2-Inch Tweak That Doubled My Output
The real turning point came on 2026-04-15. I noticed that my output was plateauing even when the conditions were perfect. Staring at the setup, I realized my initial grounding wire was creating a slight resistance loop because of how I’d routed it around the battery bank. It was basically a bottleneck in the network. I made a simple 2-inch adjustment in the grounding point, shortening the path and using a thicker lug.
The result? My output doubled overnight. It was like upgrading from a 10/100 switch to a Gigabit connection. The system started breathing. I wasn't losing energy to heat in the wires; it was actually reaching the battery bank. If you're just starting out, I highly recommend checking out these common wiring mistakes so you don't spend as much time as I did chasing ghosts in your circuits.
My wife walked in that evening, saw the LED strip light up in the corner of the garage without being plugged into the wall, and didn't say a word—she just smiled and handed me a cold Gatorade. That was the moment I knew this wasn't just another "science experiment." It was a functioning utility. I told myself right then: if this actually works through July, I'm finally taking that soldering iron off the "to-be-sold" list I promised her.
The Bottom Line: ROI and Real Numbers
Let’s talk about the math, because that’s the only metric that really matters at the end of the month. My baseline summer electric bill was $380. After implementing the Energy Revolution System and applying these tweaks, my April utility bill came in at $142. That is a monthly savings of $238.
- Total Investment: $234 ($49 guide + $185 parts)
- First Month Savings: $238
- ROI: 31 days
For the price of one family dinner out, I've built a system that pays for itself every 30 days. It’s not magic; it’s just physics and a bit of patience. If you’re looking for a budget-friendly way to start, the Power Grid Generator is another solid entry point, but for a comprehensive blueprint, the Energy Revolution System is hard to beat.
I’m still not an engineer, and I still have to double-check my multimeter settings every single time. But standing in my garage now, listening to that inverter hum, I don't feel like a victim of the power company anymore. I feel like an admin who finally optimized a sluggish network. If you're tired of the $300+ bills, stop researching and start building. The Energy Revolution System is the best place to start if you want a proven roadmap instead of a garage full of half-finished experiments.