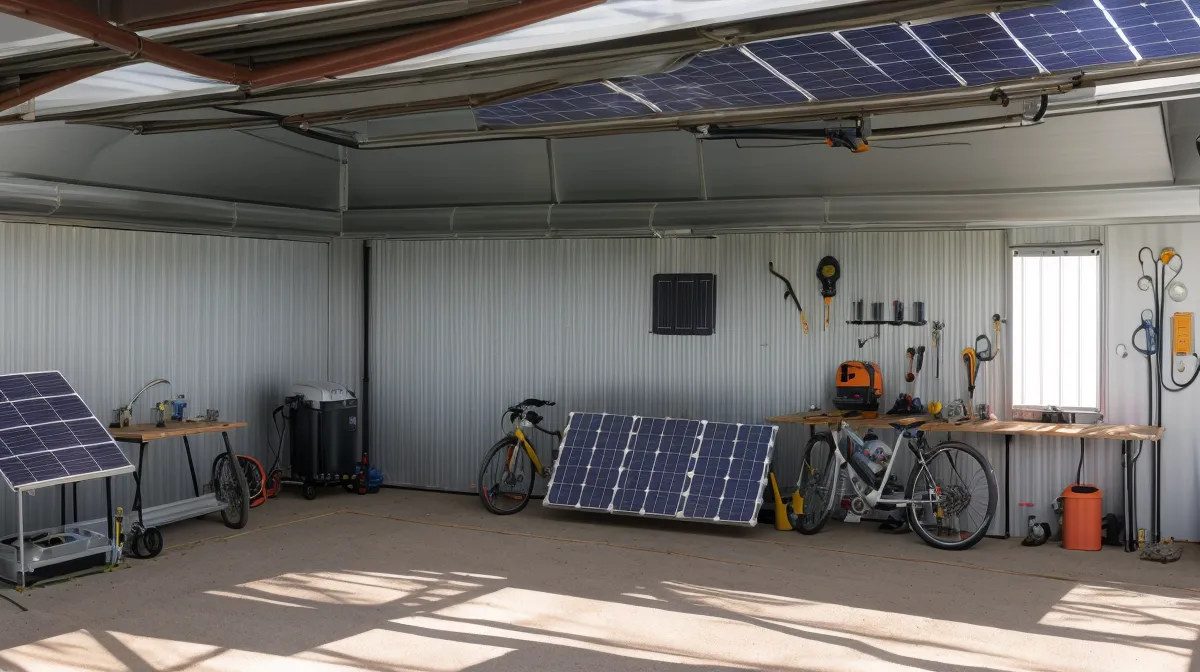
One blindingly bright Saturday morning in late spring, I walked out into my backyard with a cup of coffee and stopped dead in my tracks. My single 100-watt solar panel was propped precariously against a sun-faded plastic storage tote, held in place by an old landscaping brick. It looked like a network cable draped across a hallway floor without a cable runner—functional for five minutes, but an absolute liability waiting to fail.
After our summer electric bill touched $380 for the third year in a row, I made a personal rule: stop overpaying for commercial gear until I understand how the physics work in real life. When you browse solar mounting kits online, you quickly find extruded aluminum brackets and ground racks that cost nearly as much as the panel itself. In my day job doing corporate IT support, we call that the enterprise tax—charging premium pricing for basic mounting brackets just because they come in a branded box.
Standing there in the heat, I remembered the stack of scrap Schedule 40 PVC pipe sitting in the dark corner of my garage. It was leftover stock from when I repaired a broken backyard drip irrigation line earlier that year. The pipe was free, lightweight, and easy to cut. How hard could it be to build a frame that held a solar panel at the right angle?
The Garage Topology: Designing with Plumbing Offcuts
In IT, network topology is everything. If you design your network backbone wrong from the start, packet collisions and bottlenecks will haunt you forever. Physical frames follow the same rule: if your mechanical base is garbage, gravity and wind will expose it instantly.
My solar panel is a standard 100-watt monocrystalline unit with an aluminum perimeter frame. To support it, I needed an A-frame or wedge-style kickstand that would elevate the back edge while anchoring the bottom edge firmly against the gravel. I dragged out a handful of 90-degree elbows, some T-fittings, and several leftover lengths of nominal 1-inch Schedule 40 polyvinyl chloride pipe. For anyone who hasn't measured plumbing before, nominal 1-inch PVC has an actual outer diameter of 1.315 inches. Keeping that 1.315-inch standard in mind matters when you're figuring out how the pipe will seat into fittings and how your frame will sit against the panel's mounting holes.
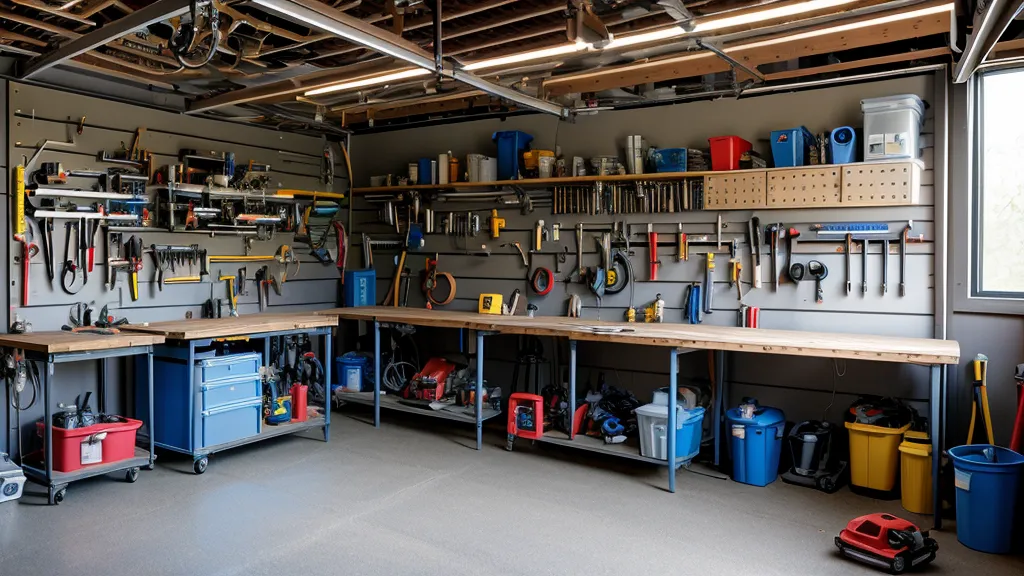
My initial design was straightforward: a rectangular base that would rest flat on the ground, two vertical-to-angled riser legs at the rear, and crossbar braces across the back. I used a handheld ratcheting PVC cutter to slice the pipe into sections on my garage workbench, surrounded by rolls of hookup wire, a digital multimeter, and half-disassembled power inverters. I'm not a licensed structural engineer or an electrician—just an IT guy trying to cut down his cooling costs—so my tools are basic, but a clean 90-degree cut on PVC is universally satisfying.
The Purple Primer Trap and the Dry-Fit Blunder
One Saturday morning last June, the garage had already reached ambient desert temperatures before lunchtime. I laid out the cut pieces across the concrete slab to start dry-fitting the frame. Anyone who works with PVC knows the Golden Rule: always dry-fit your entire system before touching the cement, because PVC solvent cement does not offer an "undo" command.
The sharp solvent sting of purple PVC primer hitting the hot concrete garage floor while sweat dripped onto unglued fittings is an aroma you don't forget. In 100-degree garage heat, the solvent evaporates almost instantaneously, giving you a tight window to mate the pieces before the plastic fuses. But before I committed to permanently gluing the joint fittings, I decided to do a real-world test run out on the backyard gravel with the frame merely dry-fitted.
That was my first real mistake.
I set the dry-fit PVC stand on the dirt, laid the 100-watt panel on top, and secured the panel corners with heavy-duty UV-rated zip ties through the factory mounting slots. It looked neat. It held the panel off the ground. My multimeter showed an open-circuit voltage reading right in the expected range. Satisfied with myself, I went inside to refill my iced water.
Less than ten minutes later, a sudden mid-day thermal gust swept across the neighborhood. Walking out after a sudden gust to find the unweighted frame tipped face-down, luckily saved by thick desert brush, taught me a visceral lesson in solar aerodynamics. An unweighted, unglued solar panel stand is essentially a kite. Solar panels catch moving air like a sail, and lightweight plastic tubing has practically zero downward mass.
Adding Ballast and Defeating the Desert Sun
After inspecting the panel and breathing a sigh of relief that the tempered glass hadn't shattered against the rocks, I dragged the frame back into the workshop. There were two glaring physical vulnerabilities that needed immediate troubleshooting: weight and ultraviolet degradation.
First was ballast. A network switch has rubber feet and mounting ears, but if you don't screw it into the rack or anchor it, any cable pull can drag it off the shelf. To anchor the stand without pouring permanent concrete footings in my rental-style yard setup, I solved the weight problem from the inside out. Before permanently gluing the bottom horizontal runner pipes, I slid two leftover cuts of steel rebar directly inside the nominal 1-inch pipes. The steel provided immediate, low-center-of-gravity ballast without changing the external profile of the stand. For anyone exploring similar setups, our walkthrough on How to Build a DIY Solar Panel Ground Mount for Your Backyard covers other ballast options like cinder blocks and earth anchors.
Second was the sun itself. White plumbing PVC is chemically vulnerable to solar radiation. Uncoated white PVC degrades and embrittles under direct ultraviolet sunlight due to photochemical decomposition of the polymer chains. In Arizona, raw outdoor PVC turns yellow, then dark brown, and eventually shatters like dried macaroni if bumped. To protect the polymer, I gave the entire assembled frame two coats of exterior-grade UV-resistant spray paint.
Finally, I dialed in the angle. In solar energy, a fixed panel tilted to match the local geographical latitude achieves the highest total energy capture across an entire calendar year. For Phoenix, that baseline geographic calculation sits right around 33 degrees. I trimmed the rear riser legs until an angle gauge confirmed the face sat at approximately 33 degrees, cemented the final joints with clear heavy-duty PVC glue, and let the entire assembly cure overnight.
The Flaw in Rigid PVC: Why Seasonal Sun Angle Matters
For the first few weeks, the stand seemed like an unqualified success. It held its orientation, fed steady charging amps into my DIY battery bank, and didn't cost me more than a few leftover plumbing odds and ends. But after about three weeks of desert heat, as we transitioned deeper into summer, I began noticing something in my daily multimeter logs.
Avoid rigid, fixed-angle PVC stands, as their inability to expand and contract with seasonal sun shifts makes them less efficient than simple, adjustable wood-hinged alternatives. This is the structural trap that most beginners (myself included) walk straight into when using plastic pipe.
Here is the underlying issue: while a fixed 33-degree tilt is mathematically optimal if you never touch your panel for twelve months, solar elevation actually shifts dramatically across seasons. In mid-summer, the sun passes almost directly overhead, meaning a 33-degree angle causes noticeable off-axis power drops during peak hours. In the winter, the sun hangs much lower on the southern horizon, demanding a significantly steeper tilt to catch direct photons.
When you build a rigid, fully cemented PVC frame, your angle is locked in stone. You cannot easily adjust a glued PVC joint. If you attempt to loosen or force a cemented pipe, the brittle plastic simply snaps. Furthermore, Schedule 40 PVC has a high rate of thermal expansion. In ambient heat exceeding 110 degrees, the pipes flex and warp slightly under the weight of the glass panel, pulling the mounting holes out of alignment. If you want true seasonal flexibility without spending commercial money, a basic wooden frame using carriage bolts and simple metal hinges allows you to pull two wingnuts and change your tilt angle four times a year in two minutes flat.
Surviving the Monsoon and Measuring the Return
By mid-July, the Phoenix monsoon season arrived in full force. We got hit with a wall of dust followed by sudden 40-mile-per-hour gusts that knocked over patio chairs and tore palm fronds down the street. I stood at my garage window, half-expecting to see my scrap-pipe stand cartwheeling across the lawn.
It didn't move an inch. The internal rebar ballast did its job, anchoring the low base against the gravel while the wind pushed over the top of the angled panel face. The battery bank kept charging, powering my garage vent fan and keeping the workshop bearable during the most expensive power-company hours of the day.
If you're looking into cutting household electric costs by testing off-grid projects, you don't need fancy equipment to get started. As I documented in my notes on Why I Stopped Waiting for Solar Panel Prices to Drop and Built My Own System, waiting for the perfect commercial equipment often just delays real-world power generation. Building a quick stand from scrap materials is a great way to test panel performance before committing to a permanent installation.
Just remember my rule of thumb: PVC is fine for a quick prototype or a temporary weekend setup, but treat it as a stepping stone, not a permanent decade-long asset. If you decide to wire your panels permanently into your house, always check local building codes and consult a licensed electrician to make sure your disconnects and grounding systems are safe. For small portable rigs, though, grabbing a few pipes and a hacksaw is the quickest way to turn scattered sun into usable power.