
Three plug-in "power saver" boxes are lined up on the outlet strip, each one promising something like a 30 percent cut to the bill, and the Kill-A-Watt clamped in behind them hasn't moved a single watt (not even a rounding error) since before I added the third one. That's usually how a DIY solar project starts in a Phoenix garage — not with some grand plan for energy independence, just proof that another gadget for the home power system bought nothing worth keeping.
The number that actually got me moving showed up on the utility app, not a gadget box. I remember thumbing back to the previous screen and reloading it, certain I'd misread a decimal point, before accepting that a Phoenix summer really does cost that much to survive indoors. I turned the decision over on a hike out at Dreamy Draw Recreation Area in north Phoenix before buying a single part. Somewhere between that trail and the hardware store, the next home power system started looking like something I needed to actually understand, top to bottom, instead of trust because the box looked confident.
Two Ways Into a DIY Solar Setup
Once I stopped shopping for a magic box and started reading, two real paths showed up. One is the modular route — a charge controller, a battery bank, an inverter, and enough wire to connect them, all picked and sized by you. The other is a boxed kit, where someone else already matched the controller to the battery to the inverter, and your job is mostly bolting brackets and connecting color-coded leads. Neither is wrong. They solve different problems, and mixing up which one you actually need is how people end up disappointed with either.
Sizing Up What the Garage Actually Needed
Before mounting anything, I had to figure out roughly how much load I was trying to offset — the garage lights, a small IT test bench, the hallway fixtures nobody bothers to turn off. In IT terms, this is capacity planning before you rack anything: you don't buy server hardware on vibes, and you shouldn't size a battery bank that way either. Voltage plays the role bandwidth does in that comparison, and the wiring is the physical layer — every connection between panel and battery is a place current can get lost (or wasted as heat, which in a Phoenix garage is not a hypothetical).
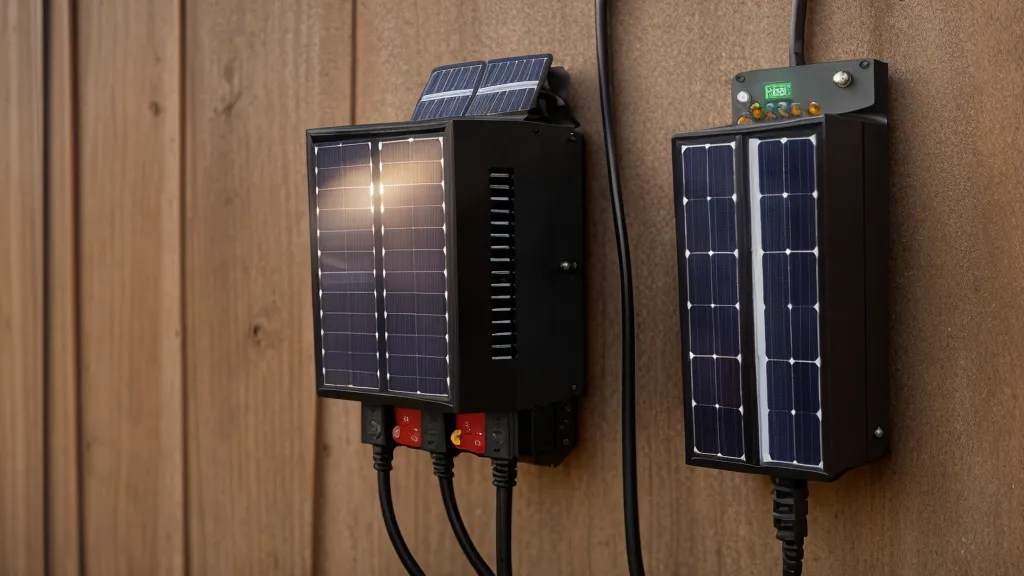
A load estimate only matters if the wiring between components doesn't waste it, and wire gauge and voltage drop matter more than most beginners expect, though that's a deep enough topic for its own post. Some of that math traces back to my Phoenix electric bill experiments, where I first started tracking what individual circuits actually cost to run.
Why I Built the Modular Route First
I went modular in my own garage, mostly because I wanted to understand every joint in the system well enough to troubleshoot it myself later. Mounting the charge controller felt familiar, like racking a switch in a server closet. The battery rack was the opposite kind of familiar — the kind where you measure once, feel confident, and then discover the run between rack and inverter comes up three inches short with no slack anywhere to borrow from. There's no crimping a longer patch cable in DC current the way there is on a network run. I tore the rack down and moved it, which cost an afternoon and a few words I won't repeat here.

That detour changed how I thought about the whole build. Most first-timers chase panel efficiency numbers, but the battery bank is what actually determines whether you're still running lights after the sun drops. Sizing that bank correctly is a math problem all its own, one I've broken down elsewhere in more detail, so I'll spare you the formula here — just know that undersizing it is the single most common mistake I see in DIY threads. A neighbor down the street spends his weekends restoring a 1972 Chevy C10 in his driveway, and he once asked why I didn't just buy a kit instead of fighting rack hardware on a Saturday. Fair question. The honest answer is that I like knowing exactly which part failed when something eventually does.
Where an All-In-One Kit Wins
Kits earn their keep on decision fatigue. Picking between a PWM and an MPPT charge controller is its own decision tree, one I've covered elsewhere rather than here, and whether you wire panels in series or parallel changes your voltage and amperage math completely — also a separate conversation worth reading before you buy, not something to rehash in this post. A kit maker has already made both calls, tested the combination, and boxed it with instructions a first-timer can follow in an afternoon instead of a season. The inverter question works the same way — pure sine versus modified sine is worth understanding before you buy, but a kit spares you from researching it at all.
But Does a Kit Actually Save You Money and Hassle?
Sometimes. What it doesn't save you is the thinking that should happen before you buy anything, kit or otherwise. If you haven't done a proper load audit of your house first, that's really the step before any of this, and it's worth doing before a single panel goes on the roof. Even the tilt angle on the panels shifts output enough to deserve its own write-up rather than a footnote here, and a kit's fixed mounting hardware doesn't always leave room to adjust for that. Tying any of this into your main panel brings backfeed and transfer-switch questions that are squarely a licensed-electrician conversation, not a garage-tinkering one, no matter which route you picked.
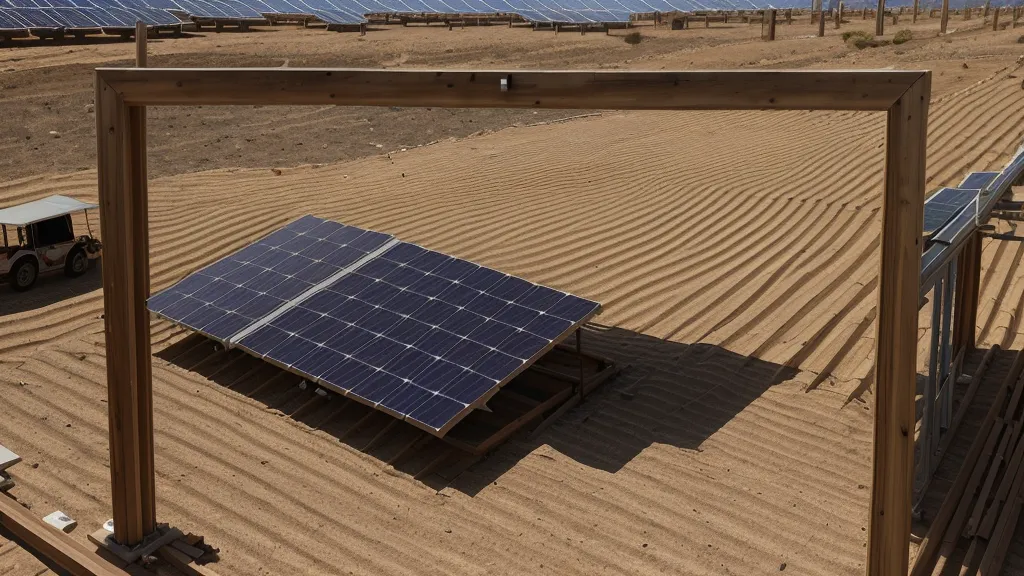
Desert heat complicates both approaches in a way glossy spec sheets don't mention. Panel ratings assume lab conditions you won't find on an Arizona rooftop most of the year. There's a specific moment worth watching for — the needle on the ammeter jumps as a panel rotates square into the noon sun, and then just as fast, that jump levels off once the glass heats up enough to fight the gain. I've written before about beating the heat without breaking the bank, and that thermal gap is one more reason I wanted a system I could tune myself instead of one locked to a manufacturer's defaults.
So Which Setup Actually Makes Sense For You?
My answer depends on what's already sitting in the garage — literally, and in terms of patience. If you've never stripped a wire or read a wiring diagram and you want power flowing this weekend, buy the kit; you'll spend a Saturday afternoon instead of a season, and the manufacturer has already answered the controller and inverter questions for you. If you've got a multimeter, some tolerance for redoing work, and you want a system sized to your actual load instead of the load a kit manufacturer guessed at, build modular. I've spent months testing different charge controllers precisely because the modular route let me swap one out without replacing the whole system, which a sealed kit never lets you do.
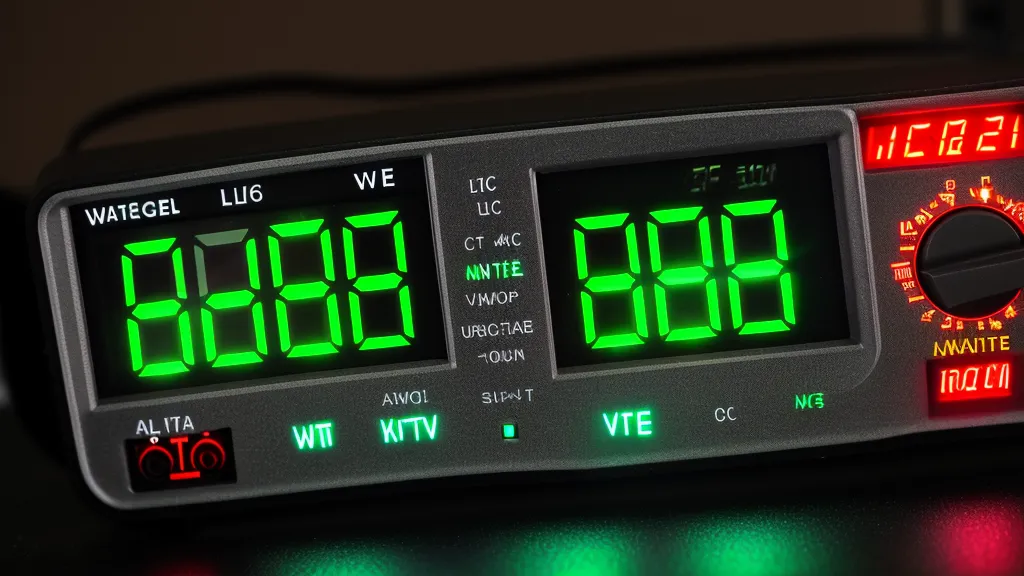
Manufacturer claims versus what your meter actually shows is a gap I've measured more than once, and it rarely favors the manufacturer, whichever route got you there. Whatever you build, the number worth trusting is the one on your own meter, not the one printed on the box. Mine finally stopped climbing every July, and out here, that's the only verdict that actually matters.