Ten Screws, Six Circuits
Ten screw terminals. That's the physical limit on a typical 30-amp manual transfer switch, and if you're wiring one in to bridge a generator into your home's electrical grid, six of those slots are already spoken for before you've opened the box — refrigerator, network gear, one bedroom AC zone, and whatever else keeps a suburban Phoenix household running during a blackout. The other four slots are the ones people forget to plan for, and that planning gap is the real reason so many backup power projects like this DIY electrical build stall out halfway through a weekend.
A transfer switch isn't complicated once you see it as a network problem instead of an electrical one. Voltage behaves like bandwidth, circuits behave like subnets, and the main breaker is the gateway that decides what traffic gets through. Get that gateway logic right and you've solved most of what home resilience during a blackout actually requires. Wire it wrong, though, and the failure mode isn't a dropped packet; it's backfeeding the grid, which can put a lethal voltage on lines a utility crew assumes are dead a mile from your house. That single risk is why every generator-to-grid setup, no matter how small, needs a proper switch or interlock kit instead of a male-to-male extension cord run through a cracked window.
Why a Transfer Switch Beats a Suicide Cord
Backfeeding happens because a running generator connected directly to a wall outlet pushes power backward through your meter and out onto the street-side lines — the same lines a lineman expects to be dead while restoring power after an outage. A transfer switch physically isolates your house circuits from the utility feed before the generator ever gets connected, so there's no path for that backward flow. An interlock kit does the same job with a mechanical plate that blocks you from flipping the main breaker and a generator breaker on at once. Either approach works; what matters is picking one sized to the circuits you actually mapped, not the biggest kit on the shelf.
Sizing that switch is where most people either overspend or undershoot. Go too small on amperage and you'll trip it the moment the AC compressor kicks on alongside the fridge. Go too big and you're paying for slots you'll never fill, plus wiring gauge and breaker sizing that doesn't match your actual generator output. The decision rule I use is boring but reliable: add up the running wattage of everything on your must-keep list, pad it by roughly a quarter for start-up surge on anything with a compressor or motor, and match the switch to that number instead of to the generator's peak rating printed on the box.
Mapping Circuits Before You Shop for Parts
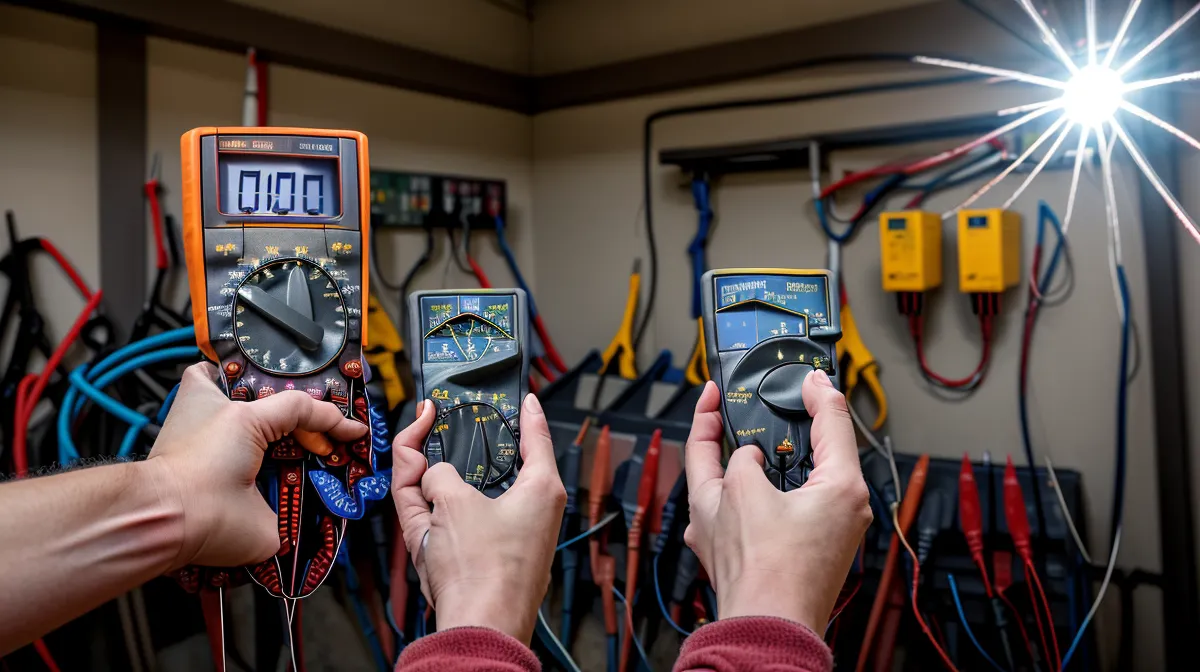
Before any wire gets cut, walk your panel with a notepad and record what's actually on each breaker, not what you assume is on it. A folding workbench and a clamp-on multimeter make that faster than guessing from memory, and a yellowed notepad that's lived next to my panel for longer than I'd like to admit has saved me from mislabeling a circuit more than once. Skip the instinct to keep every circuit in the house alive the way it runs on a normal day. You're building a short list of things that matter during an outage, and that list is almost always shorter than people expect. A basic home energy audit before you even touch the panel will usually trim your must-keep list by a third.
Parts shopping is where the plan turns real. Wire gauge, a weatherproof inlet box, and a handful of ring terminals and Anderson connectors from the labeled bins on my shelving unit covered most of what a six-circuit setup needs, though I still ended up grabbing extra 10-gauge wire at Costco on Paradise Valley Parkway because I'd underestimated the run from the panel to the inlet. There's a sharp, resin-like smell that comes off a ring terminal right after you crimp it and touch a soldering iron to the joint. You stop noticing it by the third one. None of this replaced the reflective window film I'd already put on the south-facing patio doors months earlier, which knocked maybe two or three degrees off the worst afternoon heat and nothing more. That project taught me cooling costs and backup power are two separate problems with two separate fixes, and conflating them wastes effort on both.
DIY Electrical Work Inside the Panel
Cutting main power for the install is the point where a lot of confidence disappears. Pull the dead front and you're looking at bus bars and breaker lugs that have been carrying live current for years: cold, stiff copper that doesn't forgive a sloppy connection. Label every wire before you disturb it, not after; I use masking tape and a Sharpie because a felt-tip on plastic wire markers smears the moment your hands start sweating, and in a Phoenix garage during the warm months, your hands are always sweating.
Landing the transfer switch leads is mechanical work, not electrical theory. Strip the wire to the right length, seat it fully in the terminal, and torque the screw until it's snug, not until it stops turning. A stripped terminal screw mid-install is a genuinely bad afternoon, and the fix is almost always the same: move that lead to an unused slot on the switch rather than fighting a rounded-out screw head. Kwame Asante (I met him years back on a forum thread about charge controller wiring, and he's out in Glendale now) gives me grief every time I skip logging voltage readings before and after a change like this. He's not wrong. It's the kind of habit that turns a guess into a fact you can actually stand behind.
The Backup Power Mistakes That Show Up After Installation
The most common failure after the switch is wired isn't the switch at all; it's a loose neutral wire in the inlet box, and it shows up as a total no-power test fire that looks like a catastrophic mistake but is usually a half-turn of a terminal screw away from fixed. Check that connection with a multimeter before you assume you've fried something bigger. It's the electrical equivalent of a network outage that turns out to be an unplugged patch cable: embarrassing, cheap to fix, and easy to miss because you're hunting for a bigger problem.
A reader named Juniper Halloway emailed me a while back about a 12-volt DIY battery bank that kept tripping her breaker no matter what she reset. She'd sent labeled photos of every connection without me even asking, which made it easy to spot: the interconnect wire between her battery bank and inverter was undersized for the load she was pulling, a mismatch that has nothing to do with battery bank sizing itself and everything to do with the cable connecting it to the rest of the system. If your setup pairs a battery bank with the switch alongside a fuel generator, that interconnect gauge deserves as much attention as the transfer switch wiring does.
Why Smaller Beats Bigger for Load Matching
Bigger generator capacity sounds like the safer bet, but oversizing usually just means running an engine well below its efficient range, burning more fuel per kilowatt-hour delivered. The same principle applies if you've added solar and a battery bank to the mix. Panel tilt angle affects how much you actually collect on a given afternoon, wiring panels in series versus parallel changes the voltage and current profile going into the charge controller, and whether that controller is PWM or MPPT changes how much of what the panels produce actually reaches the battery. None of that matters if the inverter feeding your transfer switch isn't putting out a clean sine wave, because a modified-sine unit will make a compressor-driven appliance like a fridge run hotter and less efficiently than the wattage math suggests.
Load matching only means something once you've measured it. On one test run with the battery side carrying the load, the monitoring app flagged a net positive for that circuit: 1.4 kWh generated against 1.1 kWh consumed over the stretch it logged. This told me the sizing for that specific circuit was right, not oversized and not scraping by. That's the number to chase before you call a build finished: log at least one full cycle of generation against draw on whatever monitor you have, on the actual circuits you mapped, not the generator's rated peak. If the numbers don't come back net positive, or close to it, the fix is almost never a bigger generator; it's a shorter circuit list or a properly sized interconnect.
If a full transfer switch install feels like too much for a first project, there's a smaller entry point worth trying: my notes on building a magnetic generator in the garage cover a lot of the same measurement habits (labeling loads, testing before trusting a reading, treating watts like a budget instead of a guess) on a much smaller and cheaper scale before you're anywhere near a live panel.