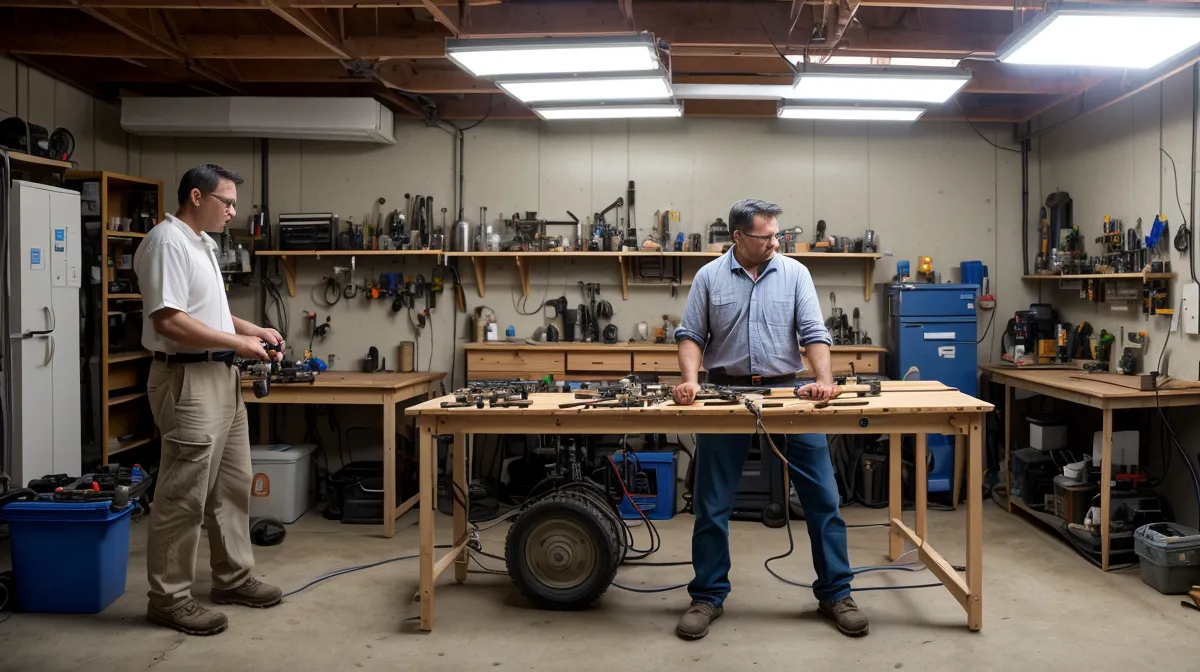
Standing in my garage late on a Friday night, the air still holding the day's heat like a thick wool blanket, I found myself staring at a pile of fragile blue silicon wafers. They looked more like a 100-piece jigsaw puzzle from hell than a power plant. This was the start of a long weekend this past spring where I decided to stop just buying kits and start understanding the photovoltaic effect from the silicon up.
I’m not an engineer or a professional electrician; I’m an IT support tech who’s spent the last 18 months trying to figure out why my summer electric bill hits $380 three years running. My garage has basically become a graveyard of failed experiments—magnetic generators that didn't generate, and wind turbines that barely spun in the Phoenix breeze. But this weekend was about the basics. If I could build one 18-volt panel from scratch, maybe I could stop feeling like a victim of the utility company's pricing tiers.
The Bill of Materials: Blue Wafers and Tabbing Wire
Before you start, you have to realize that solar cells are essentially the 'CPU' of your power system. They are incredibly thin, brittle, and remarkably easy to ruin. I ordered a pack of standard solar cell dimensions—each one measuring exactly 156mm x 156mm. These are the industry standard '6-inch' cells you see in almost every residential module. In IT terms, think of each cell as a single battery cell in a laptop pack; on its own, it’s not doing much, but in a series, it’s a powerhouse.
The goal was to string 36 of these cells together. Why 36? Because each cell has a standard solar cell voltage of about 0.5V. When you wire them in a series—which is just like network topology where one node follows another—the voltages add up. 36 cells at 0.5V gives you 18V, which is the sweet spot for charging a 12V lead-acid or lithium battery. If you only use 30 cells, you won't have enough 'bandwidth' (voltage) to push the electrons into the battery when the sun isn't at its absolute peak.
The Solder and the 'Tink' of Death
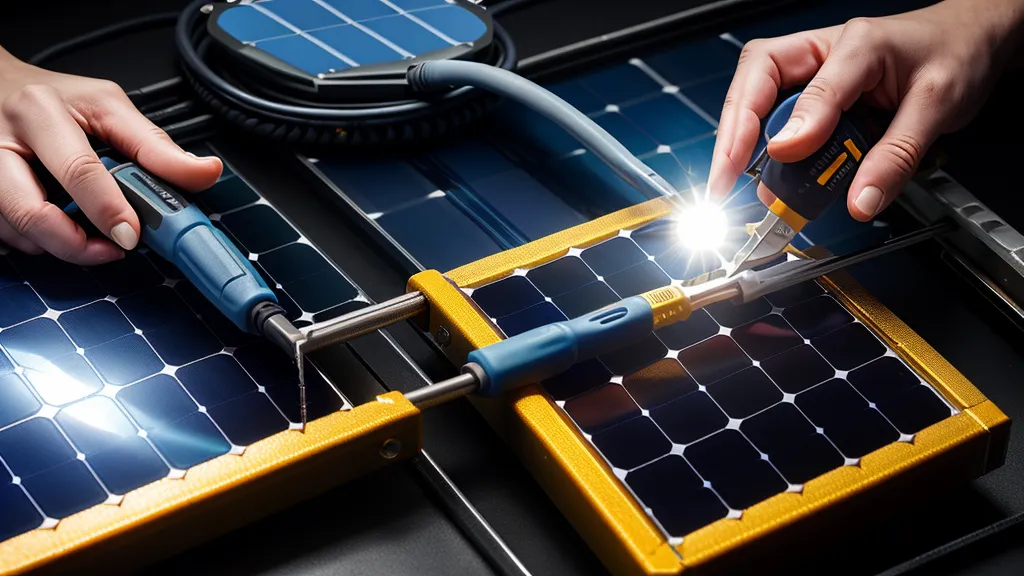
Saturday afternoon was when the real 'science experiment' began. To connect these cells, you use something called tabbing wire—a flat copper ribbon coated in solder. Soldering these is a lot like cable management in a server rack; it has to be precise, or you’re going to have a bad time. I had my soldering iron set up, and this is where I made my first mistake. I didn't check my temps. I was using SAC305 solder, which has a melting point of 217°C. My iron was cranked way past that, and the thermal shock was a constant threat.
I was about ten cells in when it happened. I pressed the iron down a little too hard, trying to get the tabbing wire to bond to the busbar of the cell. Then I heard it: the sickening, high-pitched 'tink' of a silicon wafer cracking under the pressure. It’s a sound that haunts your dreams when you’re working with sixty bucks worth of fragile blue glass. In the IT world, that’s the equivalent of hearing a hard drive head crash. That cell was toast. I had to desolder the ribbon and start that row over, which is about as fun as re-terminating a 48-port patch panel when you’re already behind schedule.
Working in a Phoenix garage in the spring means you're already fighting the heat. At one point, I was leaning over the glass backing of the panel frame, and a single bead of sweat rolled off my forehead and splashed onto the glass. I froze in fear of a thermal shock—imagining the glass shattering like a server room AC unit failing in July. Thankfully, the glass held, but it was a reminder that I’m just a guy in a garage, not a clean-room technician.
The Topology of Power: Series vs. Parallel
By Sunday morning, I was ready to talk about the 'network' I’d built. Wiring solar cells is all about understanding your circuits. If voltage is bandwidth, then current (amperage) is your data throughput. When I wired my 36 cells in series, I was maximizing my bandwidth to ensure the 'packets' (electrons) could reach the battery. If I had wired them in parallel, my voltage would have stayed at 0.5V, which is basically like trying to run a modern office on a 56k modem—it just won't work.
I spent a good hour with my multimeter checking the continuity of every string. This is the troubleshooting phase. If one solder joint is cold, the whole string drops, just like a single bad hop in a traceroute can kill your connection. I found two 'packet loss' areas where my tabbing wire wasn't making solid contact. Fixing those required a steady hand and a lot of flux. Flux is like the WD-40 of the electronics world; it cleans the oxidation and makes everything flow, but it smells like a pine forest catching fire.
The Moment of Truth in the Arizona Sun
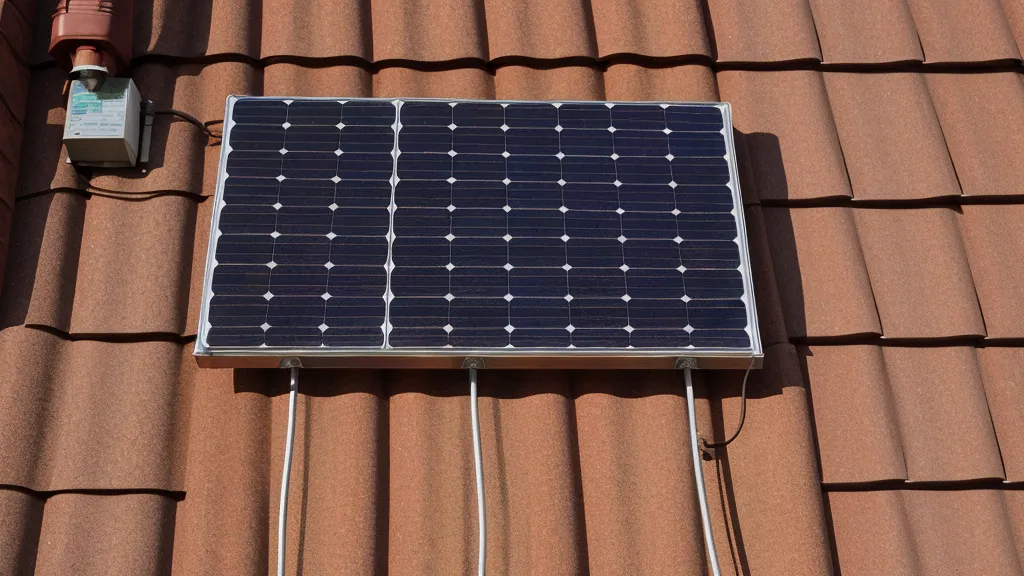
Dragging the finished, slightly lopsided assembly out onto my driveway was the highlight of the weekend. It wasn't pretty. The cells weren't perfectly aligned, and there were visible smears of flux everywhere. But when I tilted it toward that blinding Arizona sun and touched the multimeter probes to the lead wires, the display jumped from zero to 18.4V. I actually let out a yell. It’s the same feeling you get when you finally ping a server that’s been down for four hours.
Now, I have to be honest: this panel isn't going to run my central air. It’s probably pushing about 60 watts on a good day. That’s enough to keep a few LED lights going or charge my phone and laptop, but it’s not going to put a dent in that $380 bill by itself. However, the project taught me more about power than any YouTube video ever could. If you're interested in how the mounting side of things works, I actually wrote about How to Build a DIY Solar Panel Ground Mount for Your Backyard which is where this little experiment eventually ended up living.
The Reality Check: Is Building from Scratch Worth It?
A few days later, after the adrenaline wore off and I looked at my receipts, I hit a realization that might be a bit contrarian. Building your own solar panel from individual cells is actually less efficient and more expensive than repurposing discarded, slightly degraded commercial panels. When you factor in the cost of the cells, the tabbing wire, the low-iron glass, the aluminum frame, and the specialized solder, you're paying a premium for the 'education.'
Industrial recycling centers often have 300-watt panels that have dropped to 250-watt output due to minor 'snail trails' or slight browning. You can often pick those up for pennies on the watt. My DIY panel cost me more in materials per watt than a used professional panel would have. It’s like building a custom PC from individual capacitors and resistors instead of just buying the motherboard. It's a great way to learn how the hardware works, but it's a terrible way to scale an enterprise network.
Final Thoughts from the Garage
Even though it wasn't the most 'cost-effective' route, I don't regret the weekend. Understanding that each 156mm x 156mm cell is a tiny engine makes the whole concept of solar less like 'magic' and more like 'infrastructure.' It makes the monthly bill feel like a challenge I can eventually win, one volt at a time. I’m not a professional, so if you’re doing anything permanent with your home’s wiring, please talk to a licensed electrician. I'm just a guy who’s tired of paying for the privilege of staying cool in the desert.
If you're still on the fence about whether to start your own project or wait for the market to change, I went through that exact struggle. You might find my thoughts on Why I Stopped Waiting for Solar Panel Prices to Drop and Built My Own System helpful for deciding if you should pick up the soldering iron or just call a recycler. Either way, the sun is hitting your roof every day for free; you might as well catch a few of those electrons while they're passing through.