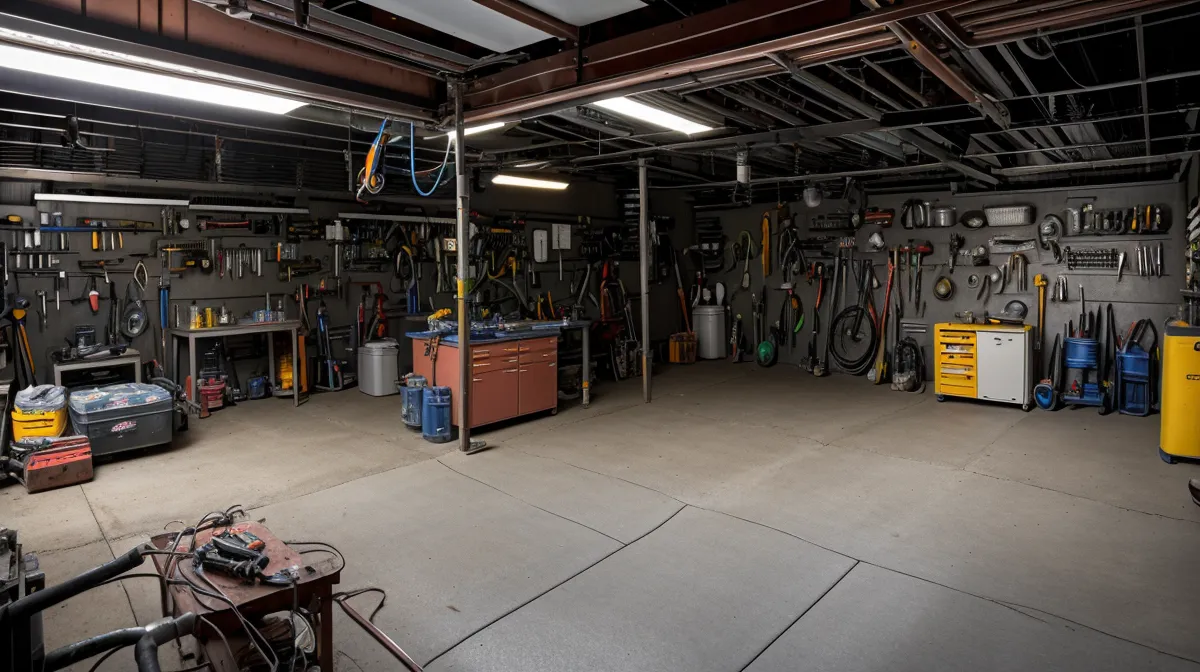
Standing in my suburban Phoenix garage mid-afternoon late last April, I watched the screen on my solar inverter flicker like a failing monitor. The temperature outside was already creeping into the triple digits, and my 8-battery lead-acid bank was supposed to be the backbone of my home office cooling. Instead, the voltage was jumping around like a network switch with a loose uplink, and I could feel the $380 electric bill anxiety starting to crawl up my spine again.
In IT, we talk about bandwidth and latency; in the garage, I’ve learned that voltage is basically your bandwidth, and resistance is the latency that kills your throughput. I knelt down to inspect the rack under my workbench—a setup my wife affectionately calls one of my 'science experiments'—and saw it. The positive terminals were covered in a thick, crusty growth that looked like blue cauliflower. This wasn't just a cosmetic issue; it was a physical bottleneck in my power topology.
The Diagnosis: Why Your Batteries Grow 'Cauliflower'
If you’ve spent any time with deep-cycle lead-acid batteries, you know they aren't exactly clean. During the charging cycle, especially when the Phoenix sun is pounding my roof panels, these batteries release hydrogen gas. In a poorly ventilated space—like my garage, which currently looks like a cross between a workshop and a 1990s Radio Shack—that gas carries a tiny bit of sulfuric acid mist. This mist reacts with the metal of the terminals and the connectors, creating that colorful, crusty sulfate.
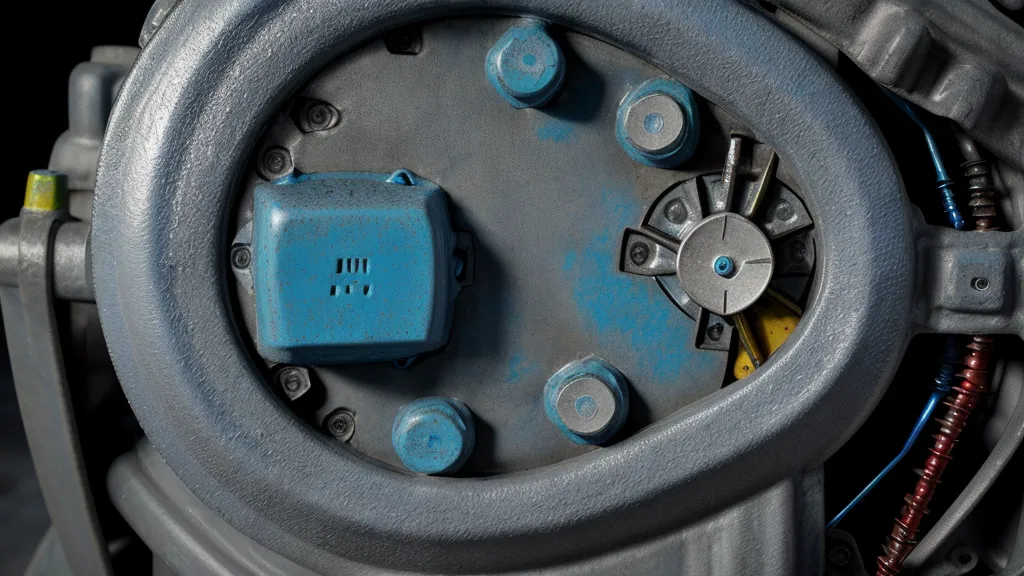
During the first July heatwave, I tried to take some readings. A healthy, fully charged 12V lead-acid battery should sit at exactly 12.6V. But when I touched my multimeter probes to the terminals, the numbers were all over the place. The probes couldn't even penetrate the sulfate crust. It was like trying to ping a server through a firewall that’s actively dropping packets. That crust creates massive electrical resistance. Resistance generates heat, and heat in a Phoenix garage is the enemy of all things electronic. If left alone, that heat can actually melt the plastic battery casing or, worse, cause a total system failure right when you need the AC most.
The Cleanup: Tools of the Trade
One Saturday morning in August, I decided to tackle the mess properly. I’m not an engineer or a licensed electrician—just a guy with a multimeter and a stubborn refusal to pay the power company more than I have to—so I approached this like I would a hardware refresh. You need the right tools before you take the system offline. I gathered a wire brush, a few microfiber cloths, and my trusty socket set. Most deep-cycle solar batteries use a standard 10mm nut for the terminal bolts, though yours might vary.
Before you start, safety is a thing. I’m not a professional, and you should definitely consult one before messing with high-current DC systems, but at the very least, wear eye protection. I also highly recommend keeping a jug of distilled water nearby. You’ll also want to check the specific gravity of your electrolyte if you have flooded batteries; a fully charged cell should read about 1.265. If the terminals are dirty, your charger might be 'lying' to you about reaching that state because the resistance is tricking the charge controller into thinking the battery is full when it's actually just struggling to push current through the gunk.
The Baking Soda Trap: A Contrarian Observation
Now, here is where I deviate from the standard DIY advice you’ll find on every 'green energy' blog. Most people will tell you to mix a tablespoon of baking soda per 1 cup of water and pour it over the terminals. I did this. I watched the satisfying sizzle as the base neutralized the acid. It felt like progress. But here’s what they don’t tell you: if you don’t rinse that solution off with absolute surgical precision, you are creating a new problem.
Baking soda residue, once it dries, often creates rock-hard crusts that are even more difficult to remove than the original corrosion. These crusts trap moisture and debris against the terminal, creating a high-resistance bridge that can lead to 'phantom' power draws. I’ve spent way too much time finding phantom power loads in my home office to let my battery bank be the culprit. Instead of a sloppy pour, I now use a damp rag with a tiny bit of neutralizing solution, followed by a vigorous scrubbing with a dry wire brush, and then a final wipe with a clean, dry cloth. You want the metal to shine like a fresh tinned copper wire.

The 10mm Abyss and Other Failures
Earlier this month, while I was doing my quarterly maintenance, I had one of those moments that makes you want to pack it all in and go back to the grid. I was loosening the terminal bolt on my fourth battery when my hand slipped. The 10mm socket popped off the wrench and I watched, almost in slow motion, as it tumbled into the dark, narrow gap between the battery rack and the garage wall. I heard it clink into the abyss, hitting a few lead plates on the way down. Since my rack is bolted to the floor for stability, that socket is now a permanent part of the garage's foundation.
Beyond the lost tools, the cleaning process itself is a sensory experience I wouldn't wish on anyone. There is a sharp, vinegar-like sting in my nostrils when I first brushed the dry white powder off the terminals. It catches in the back of your throat if you aren't careful. It’s a reminder that these 'science experiments' are real chemical plants sitting three feet from my lawnmower. If you’re worried about the heat making this worse, you might want to look into keeping your DIY solar battery bank cool in a hot garage, because heat accelerates every chemical reaction, including the ones that ruin your terminals.
Step-by-Step Maintenance Protocol
- Power Down: Switch off your solar array at the breaker and disconnect the inverter. You don't want to be scrubbing a live circuit with a metal brush. It's like hot-swapping a CPU; technically possible, but why risk the smell of ozone?
- Disconnect: Remove the negative terminal first, then the positive. This prevents accidental grounding if your wrench touches the rack.
- The Scrub: Use a stiff wire brush to remove the heavy 'cauliflower' growth. This is where that vinegar-like sting happens. Keep your face back.
- Neutralize Carefully: Use a cloth dampened with a 1 tablespoon per cup baking soda solution to wipe the terminals. Do NOT pour it. Wipe it. Then wipe it again with plain distilled water to ensure no residue remains to form that rock-hard 'concrete' crust.
- Polish: Use a fine-grit sandpaper or a terminal cleaning tool to get the contact points down to shiny metal.
- Protect: Apply a thin layer of petroleum jelly or a dedicated terminal protector spray. This acts as a physical firewall against the acid mist.
- Reconnect: Positive first, then negative. Torque them down, but don't go 'gorilla' on them—lead is soft.
The Bottom Line on Resistance
After a full cleaning, my system’s performance stabilized immediately. The flickering stopped, and my multimeter finally showed a consistent 12.6V across the bank. It turns out I didn't have a failing inverter or a dead cell; I just had a high-latency connection at the physical layer. It’s a cheap fix—maybe fifty cents worth of supplies—but it’s the difference between a system that saves me money and one that leaves me sweating in the dark.
Maintaining an off-grid system in the desert is a constant battle against the elements. I've made plenty of mistakes along the way, and I wrote about some of the more expensive ones in my post about the solar mistakes that cost me a summer. Cleaning your terminals might feel like a chore, but in the world of DIY energy, the small details are what keep the $380 bills at bay. Just hold onto your 10mm socket with both hands.